WPWeb Social Network Integration Documentation
To create an Amazon App, go to the Amazon Login with Amazon Developer Portal.
You must have an Amazon account to create an Amazon Developer account. If you do not have one, create an Amazon account first. Then visit the link above and sign in to the Amazon Developer Console.
If you are accessing the Developer Console for the first time, follow the on-screen instructions to complete your developer account setup. The login screen will look similar to the image shown below.
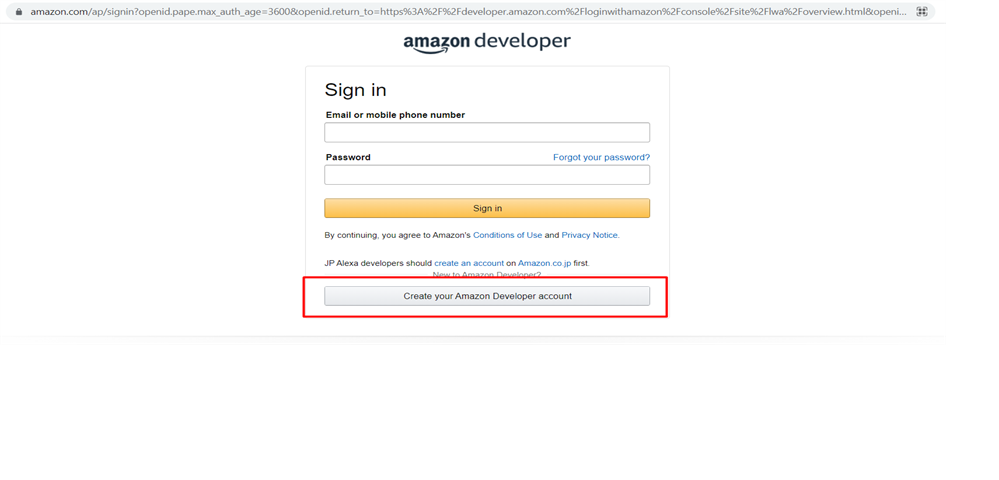
Clicking Create your Amazon account will redirect you to the account registration page. Enter all the required information and click Create your Amazon account to complete the registration. The page will look similar to the image shown below.
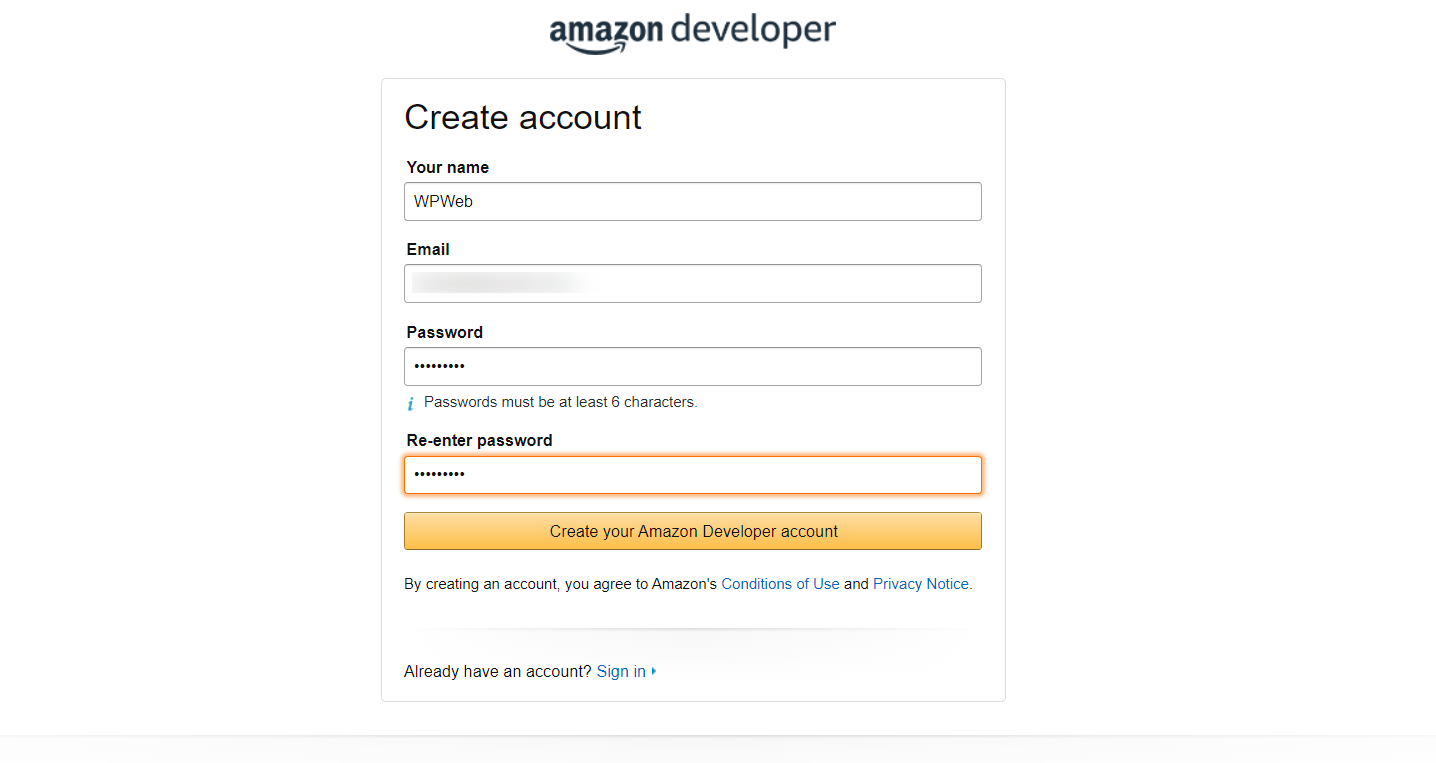
After clicking Create your Amazon Developer Account, complete the Developer Registration form by entering all the required information. Accept the Amazon Developer Services Agreement, then click Submit. The screen will look similar to the image shown below.
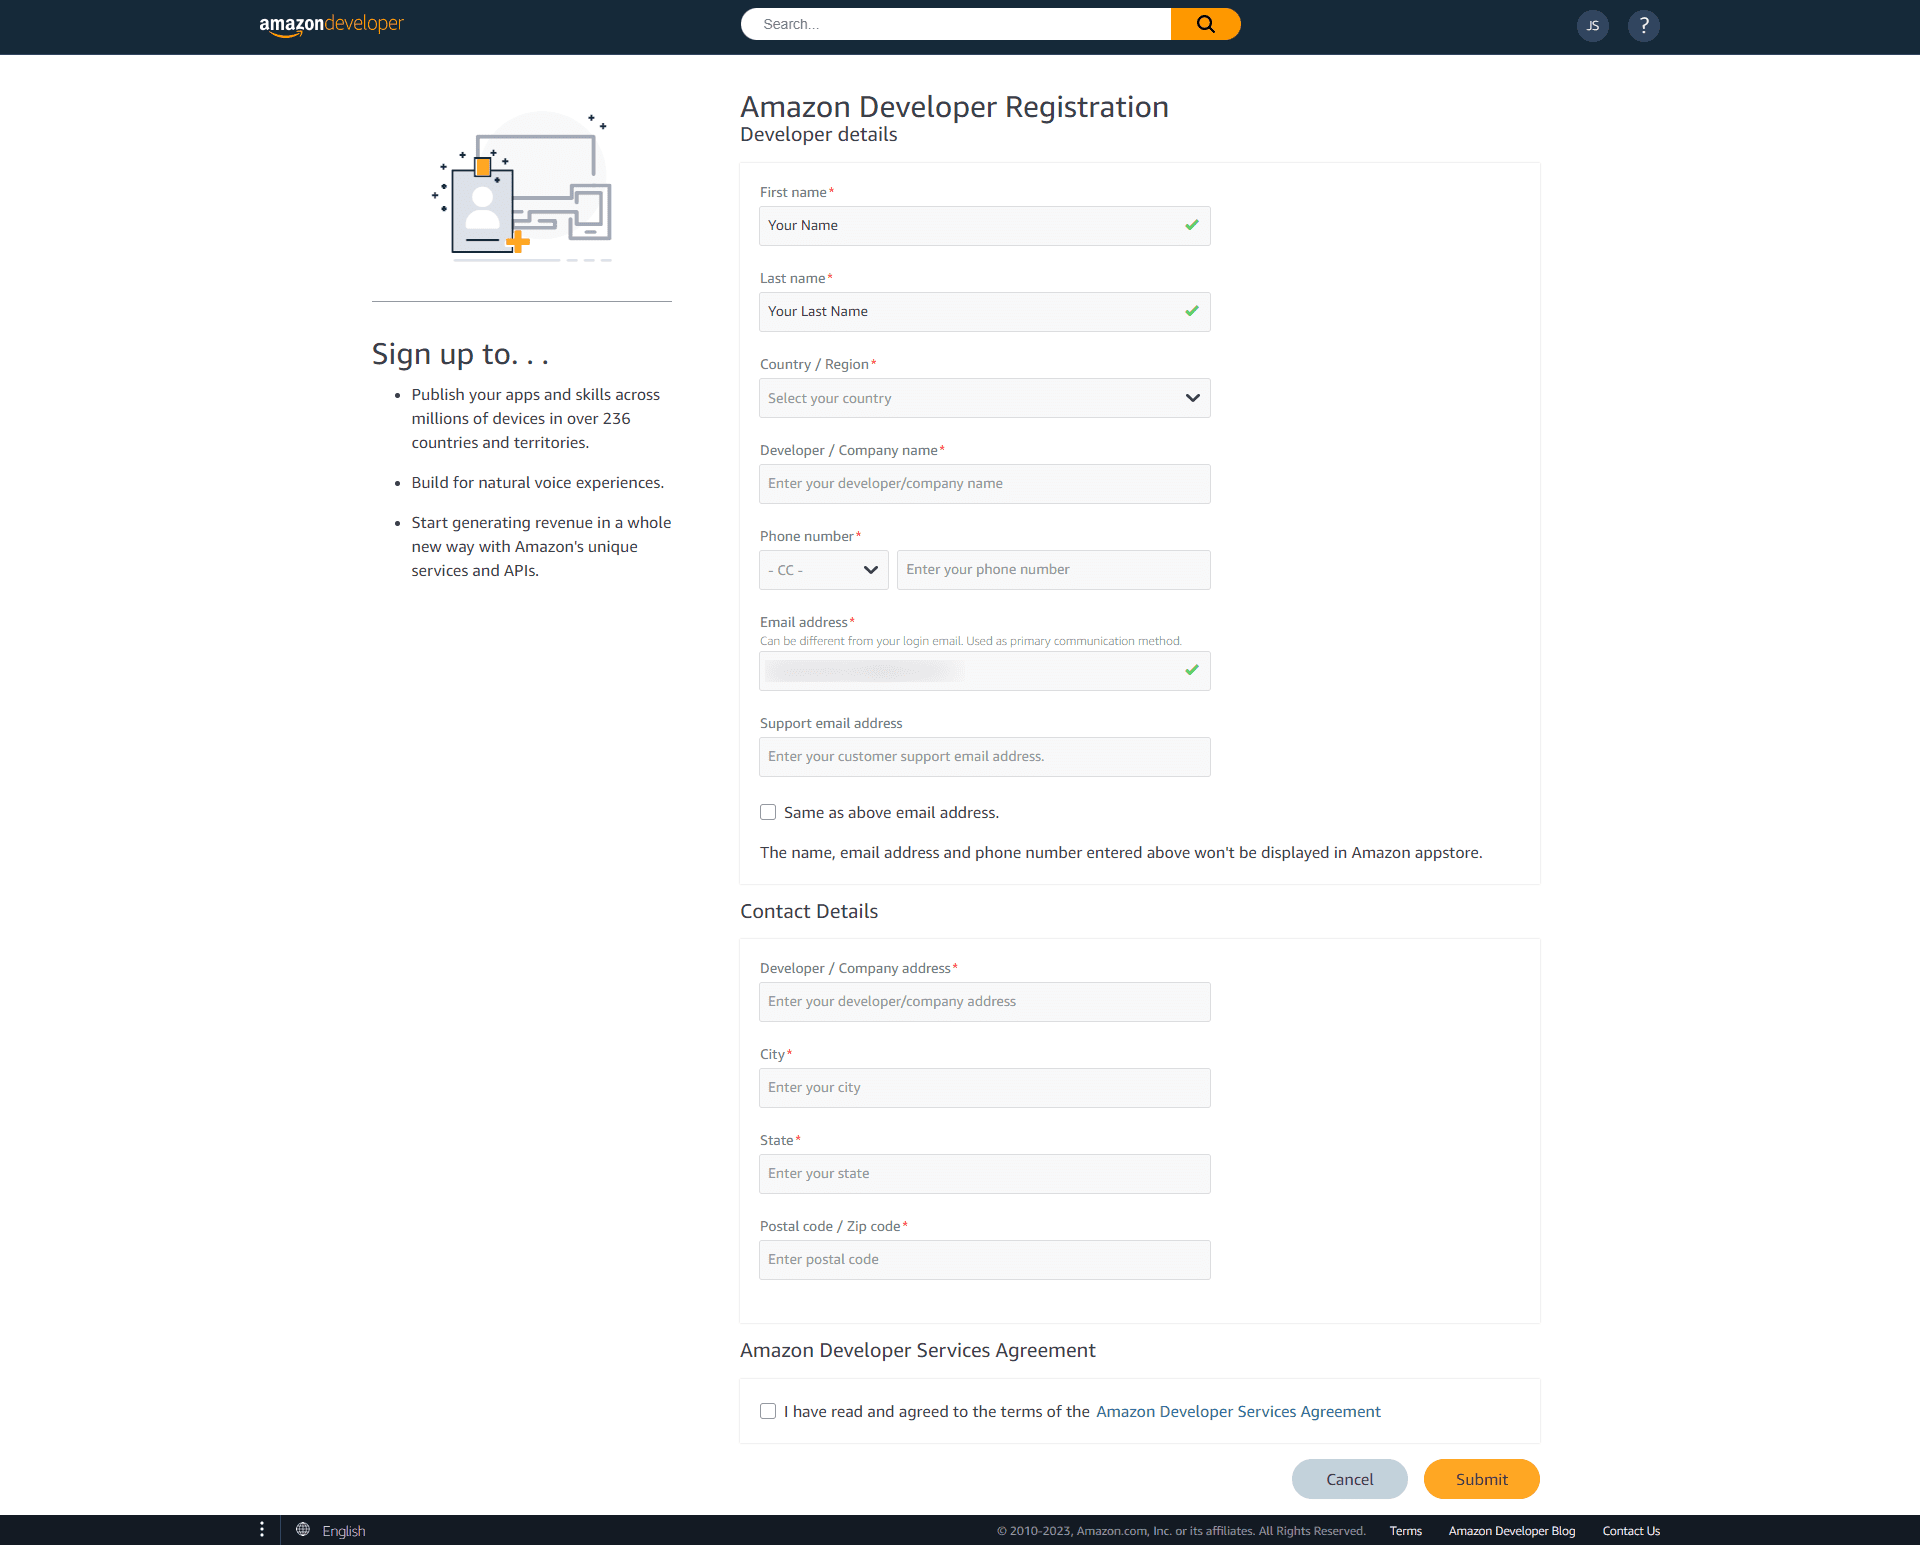
Once you have successfully completed the sign-up process, go to the Dashboard and click Login with Amazon. The Dashboard screen will look similar to the image shown below.
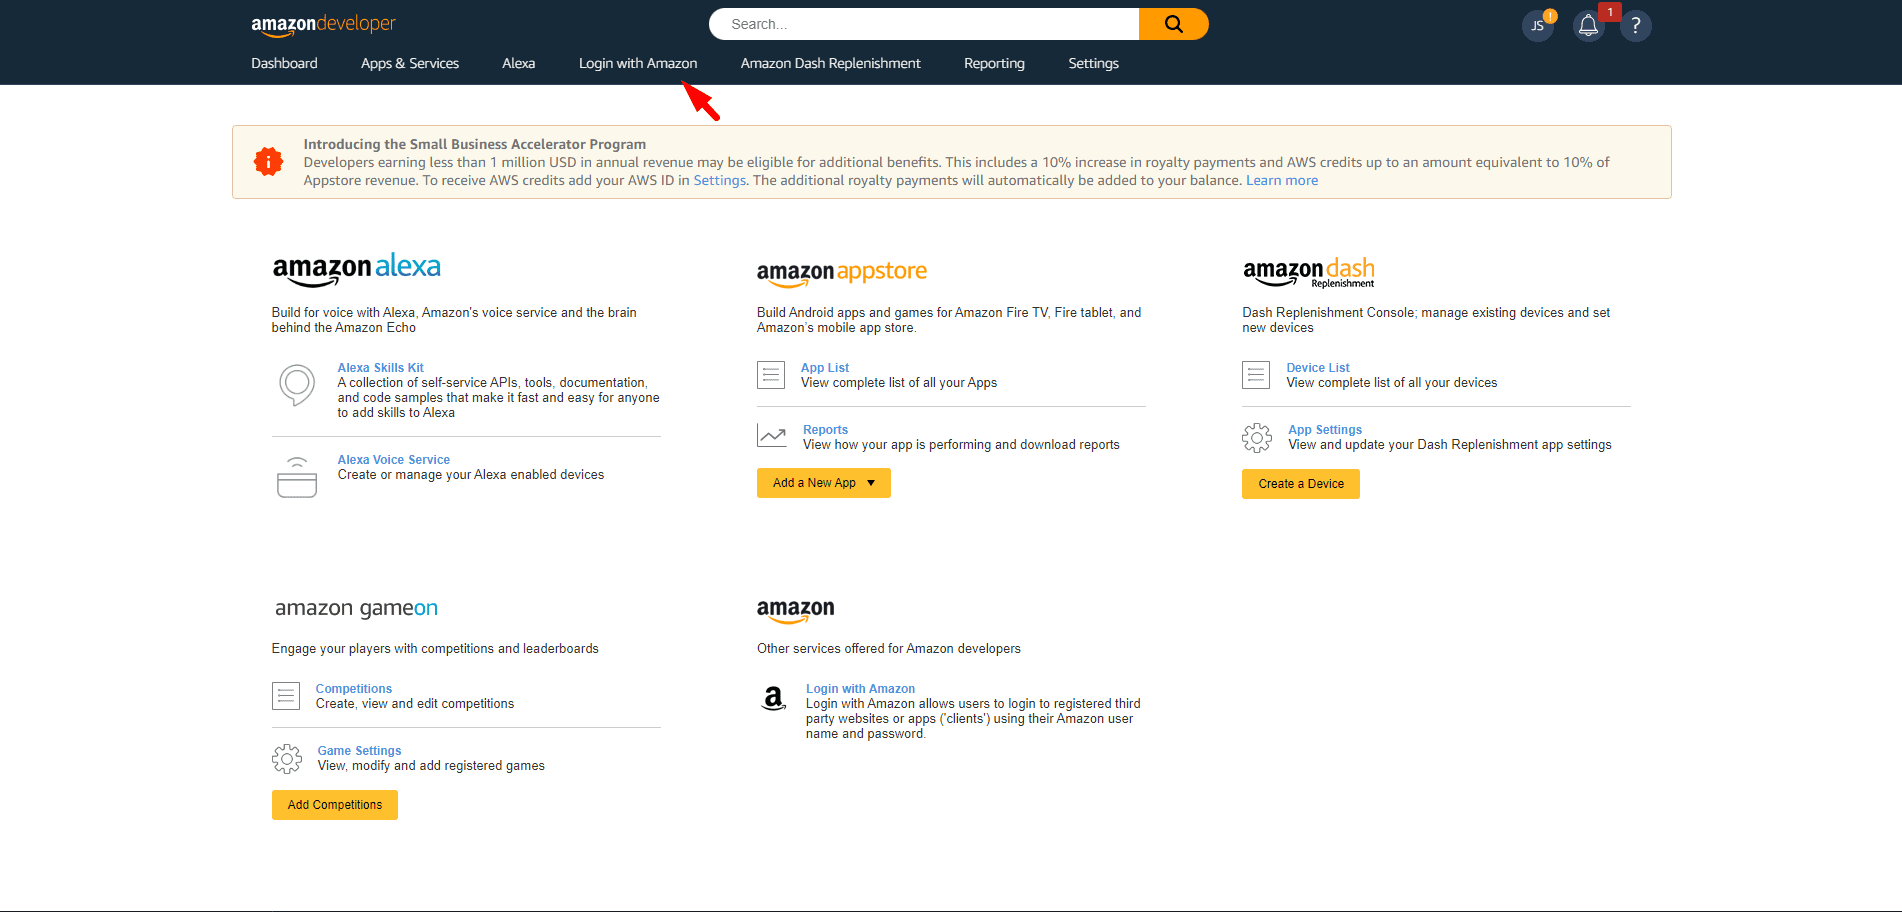
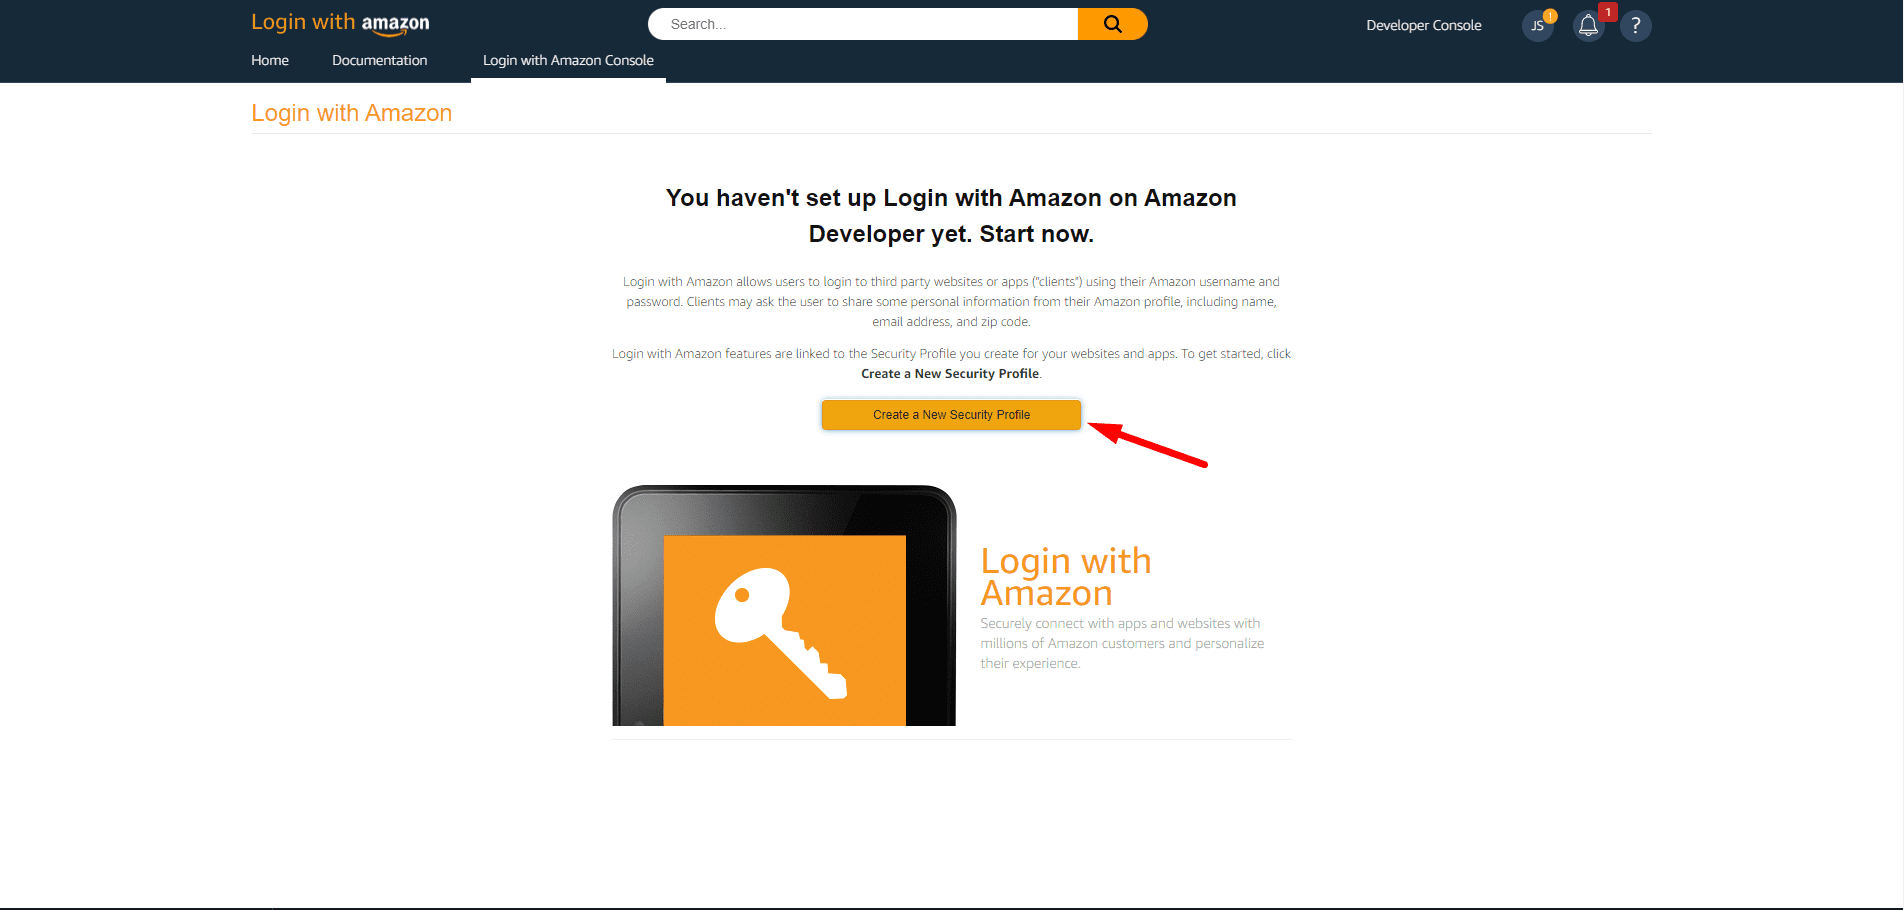
After clicking Login with Amazon, you will be redirected to the Login with Amazon page. Click Create a New Security Profile. The screen will look similar to the image shown below.
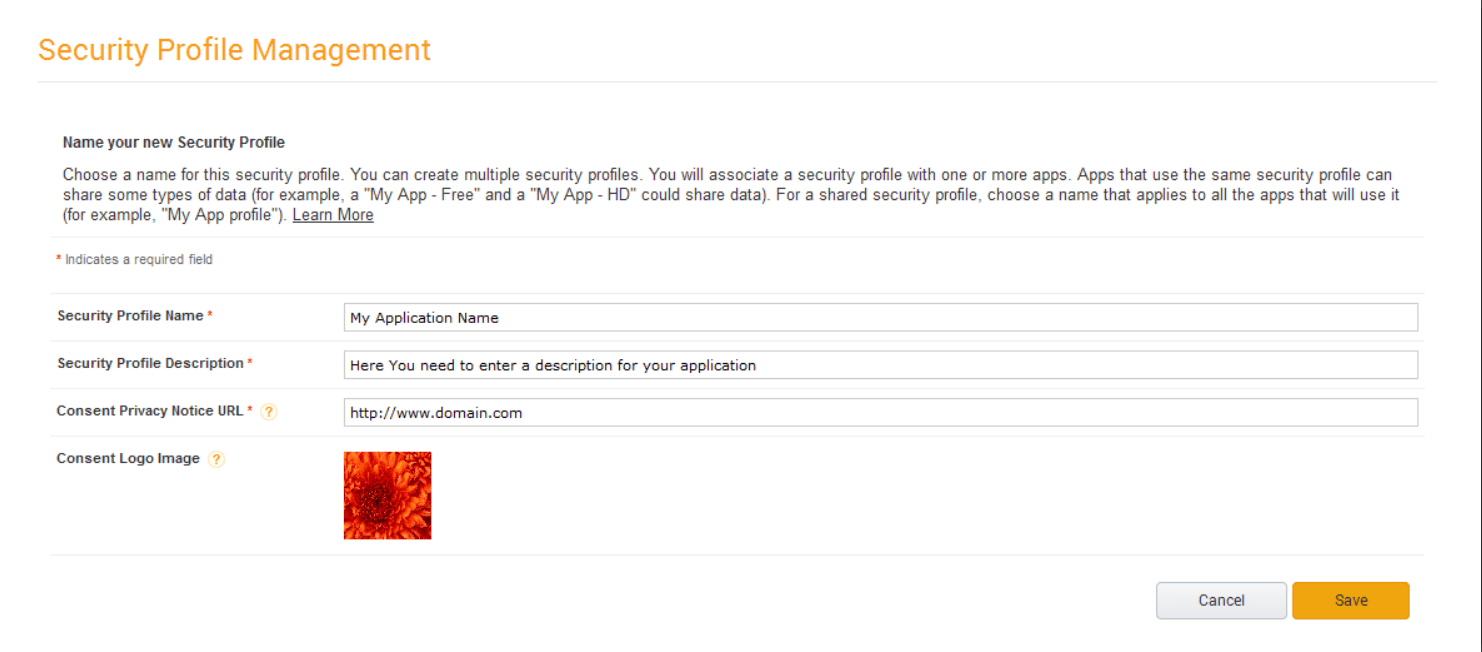
When you click Create a New Security Profile, a new window will appear, as shown in the image below. Enter the Security Profile Name, Description, and Privacy Notice URL for your application. If you want to use a custom logo or image for the application, you can upload it here as well. Once you have entered the required details, click Save.
You have now successfully created your Amazon Application and will be redirected to the Application page, which will look similar to the image shown below.
Once your security profile has been created, go to Settings under Manage. On the Settings page, locate Web Settings in the bottom-right section and click the gear icon to configure it.
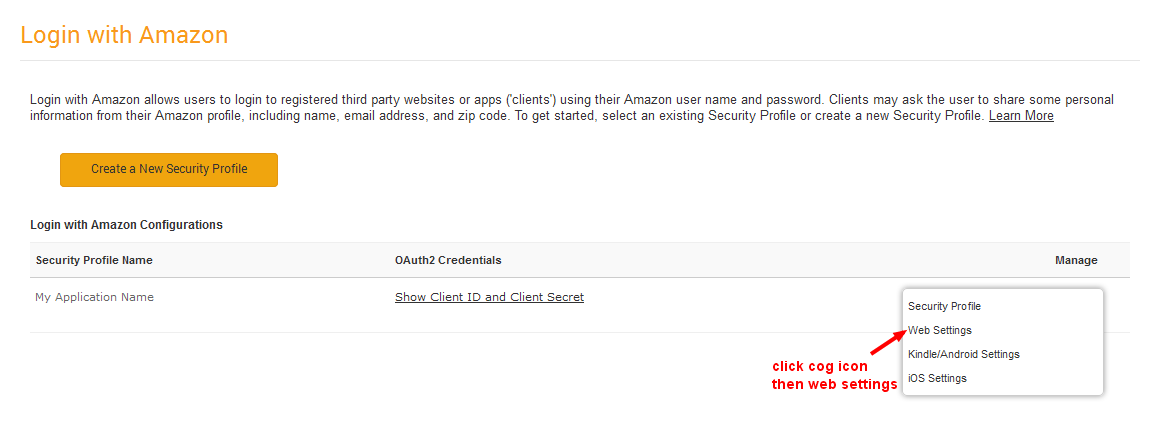
Once you click Web Settings, the Web Settings page will appear, as shown in the image below.
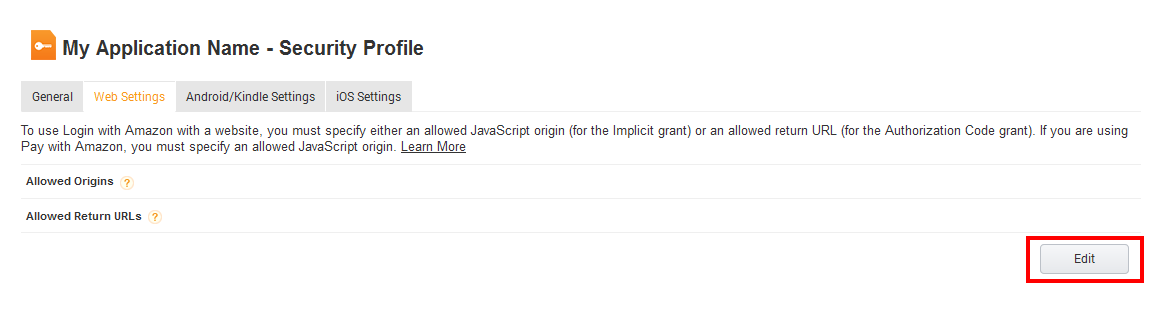
Click Edit. A pop-up window will appear, as shown in the image below.
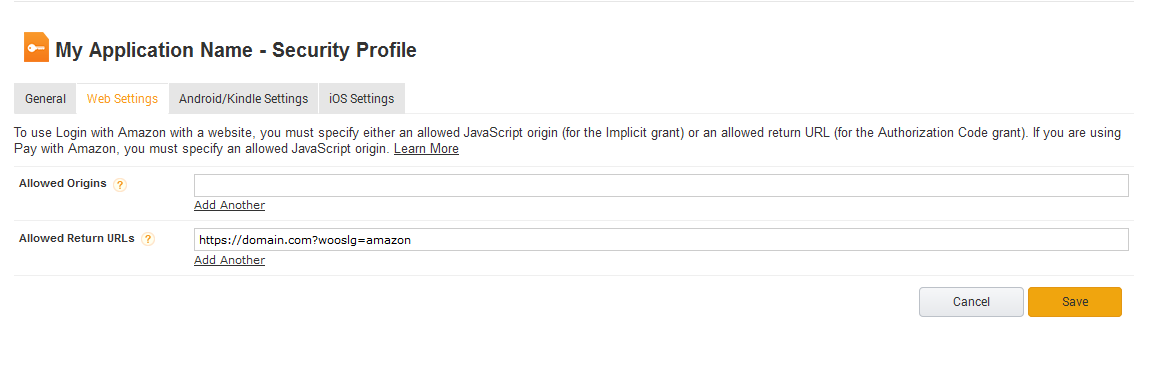
Click Save, then go to the Web Settings tab. You will see the page shown in the image below.
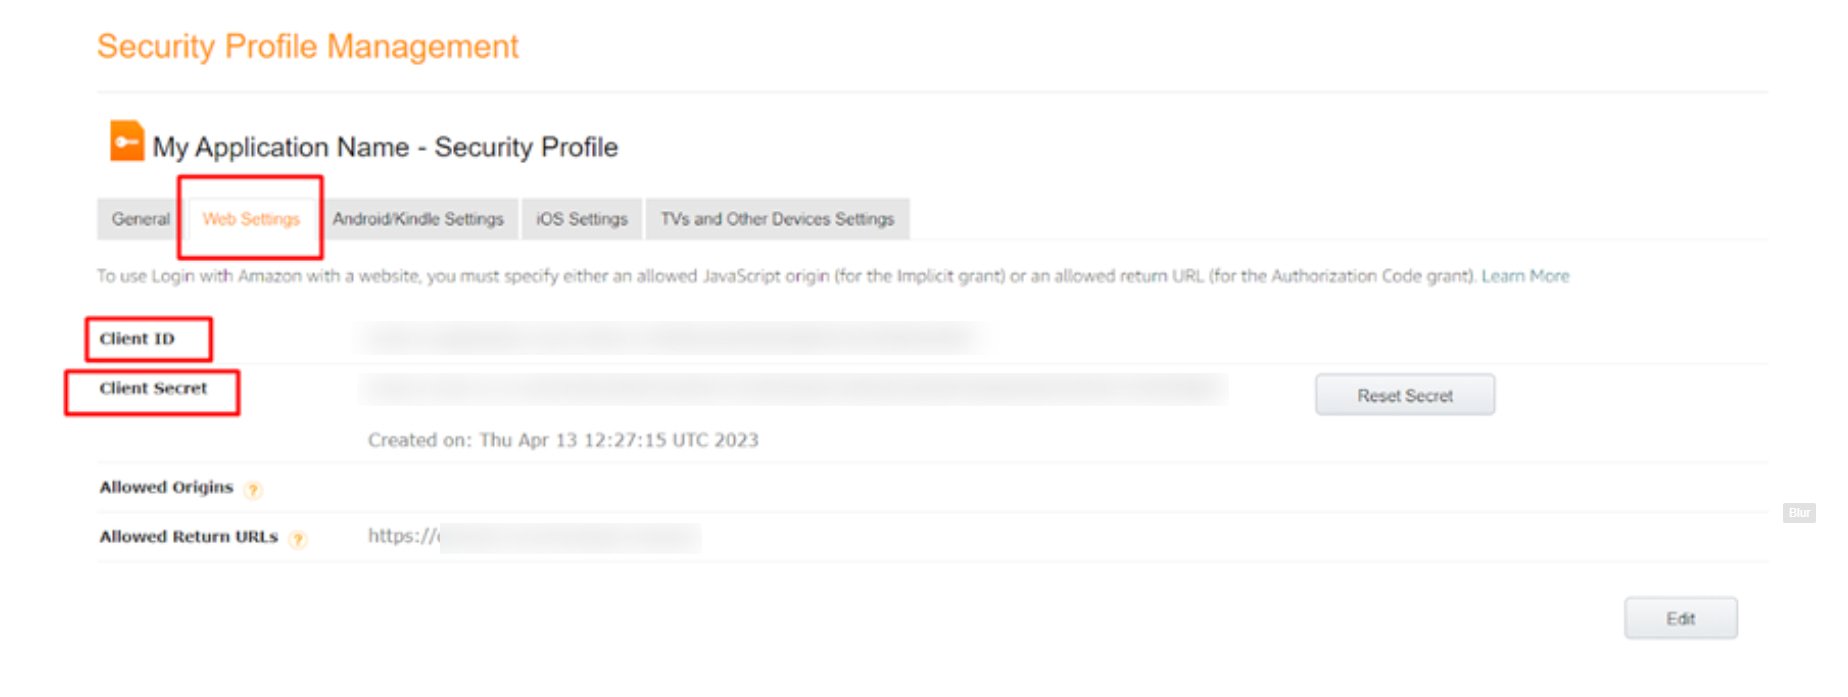
Copy the Client ID and Client Secret and enter them in the Amazon App settings within the plugin settings page, as shown in the image below.
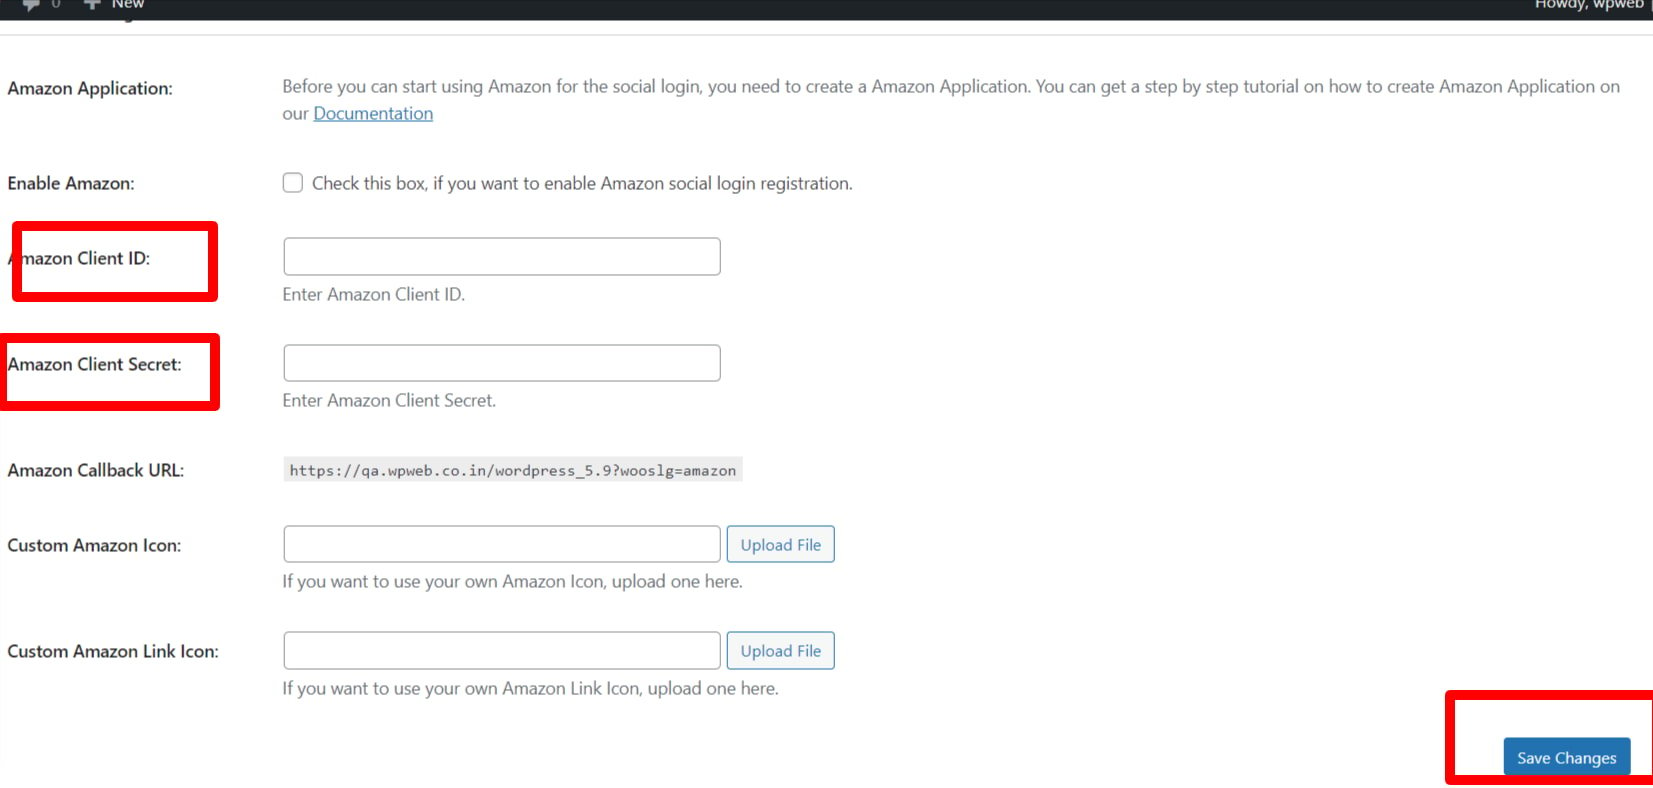
After entering the Client ID and Client Secret, click the Save Changes button on the plugin’s settings page.