“Social Network Integrations” Documentation by “WPWeb”
To create a Amazon App, go and visit: https://developer.amazon.com/lwa/sp/overview.html
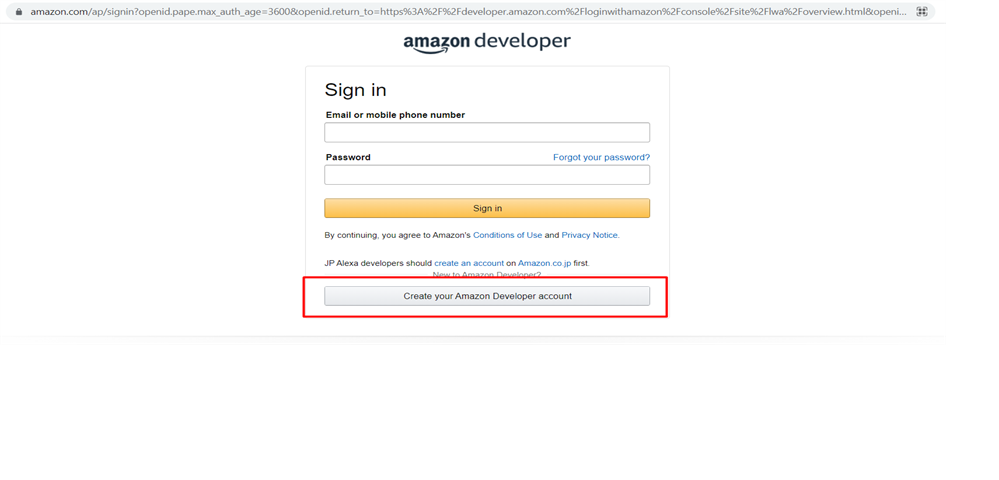
You need to create your Amazon Developer but for that you should first have Amazon account. Then go to above mentioned link and create the Amazon Developer Account. The Login screen for Amazon Developer account will look similar to image shown below. Click on “Create your Amazon Developer Account” button.
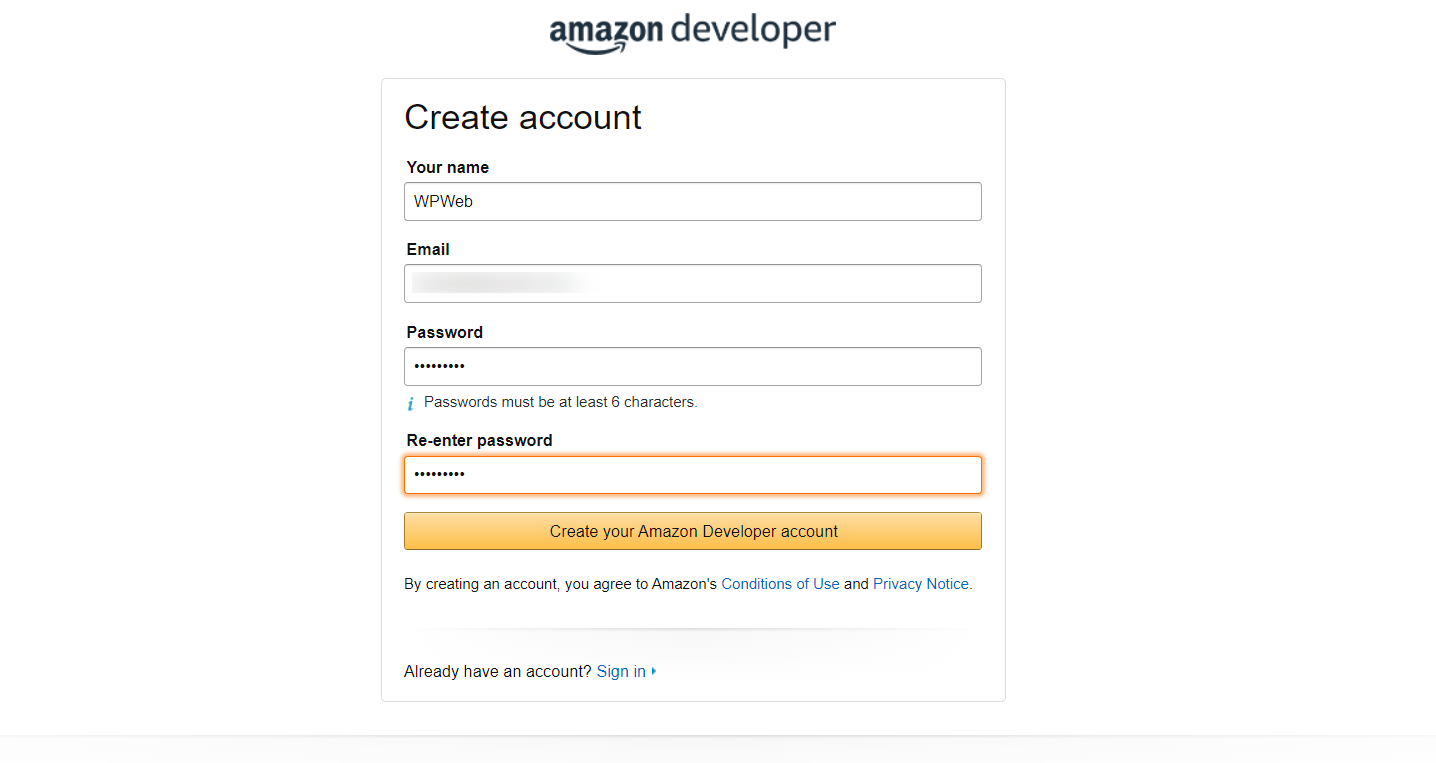
When You click on “Create your Amazon account” button it will redirect to page where you need to fill all the necessary data and then click “create your Amazon Developer account” button. The page will look similar to the image shown below. Click on create your Amazon Developer Account.
After you “create your Amazon Developer Account” button, fill all the required data for Developer Registration form. Accept the terms of Amazon Developer Service Agreement and then click “Submit” button. The screen will look similar to image shown below :

Once you have successfully completed the sign up process. Click on Dashboard. Then click on login with Amazon. Dashboard screen will look similar to the image shown below :
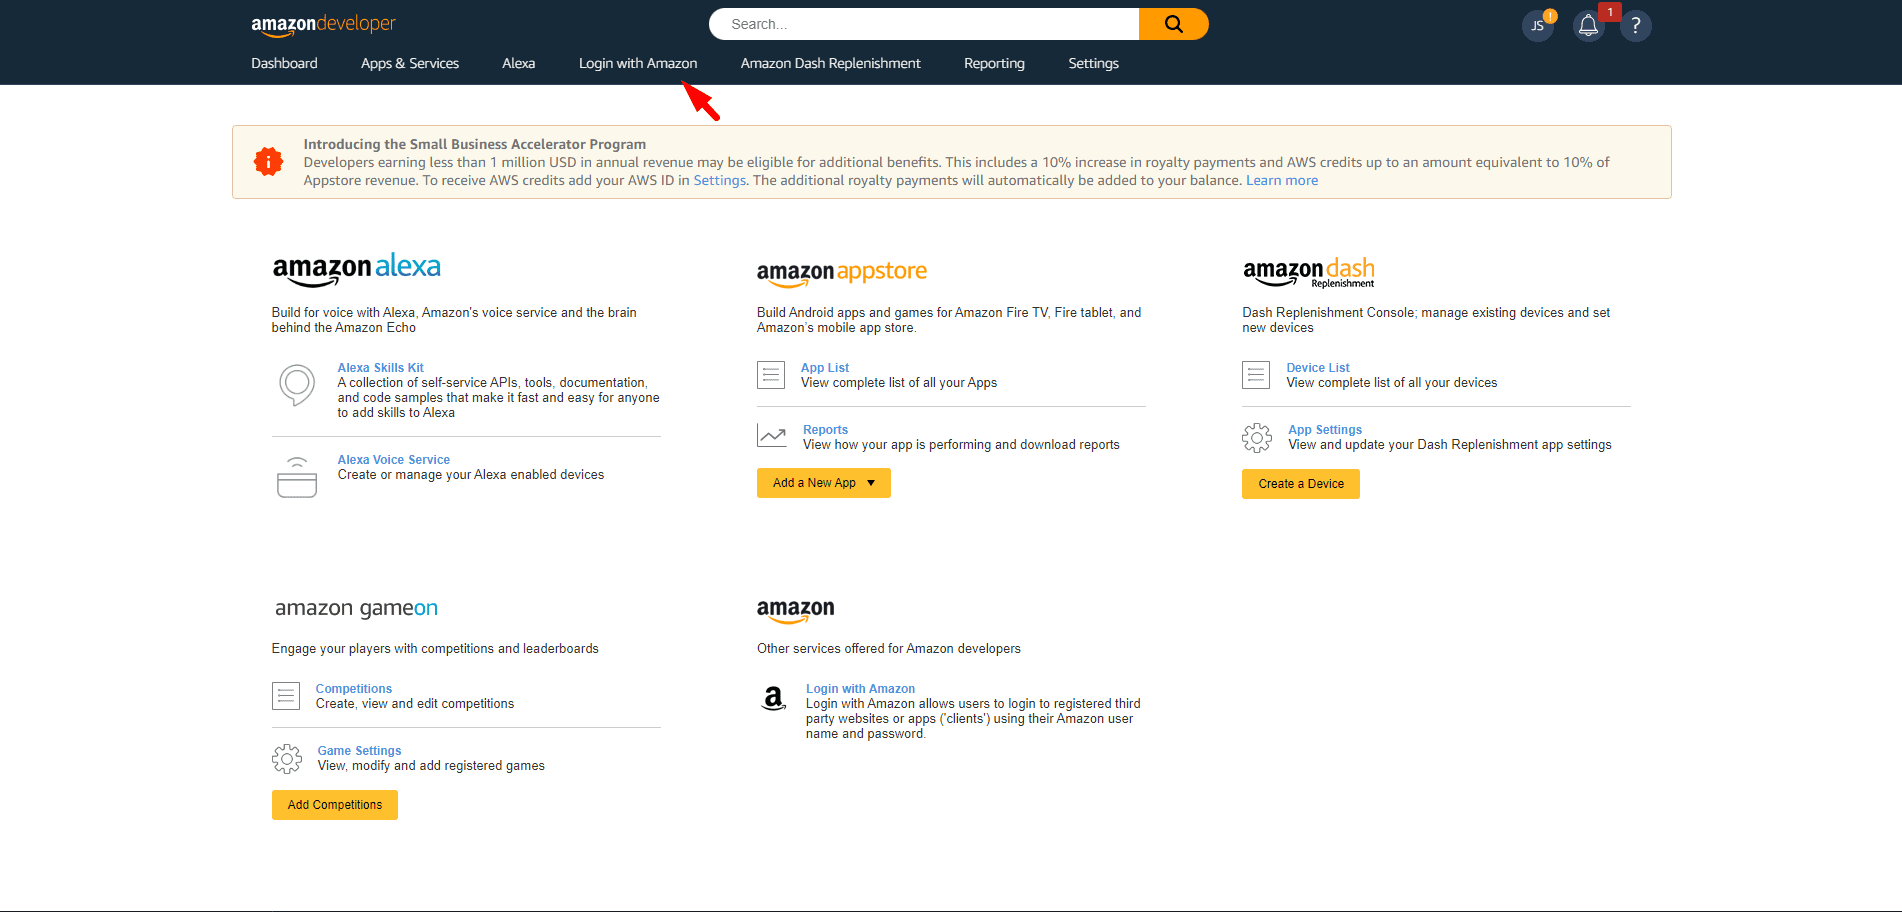
After you click on Login with Amazon. The screen will look similar to image shown below. Click on Create a New Security Profile.

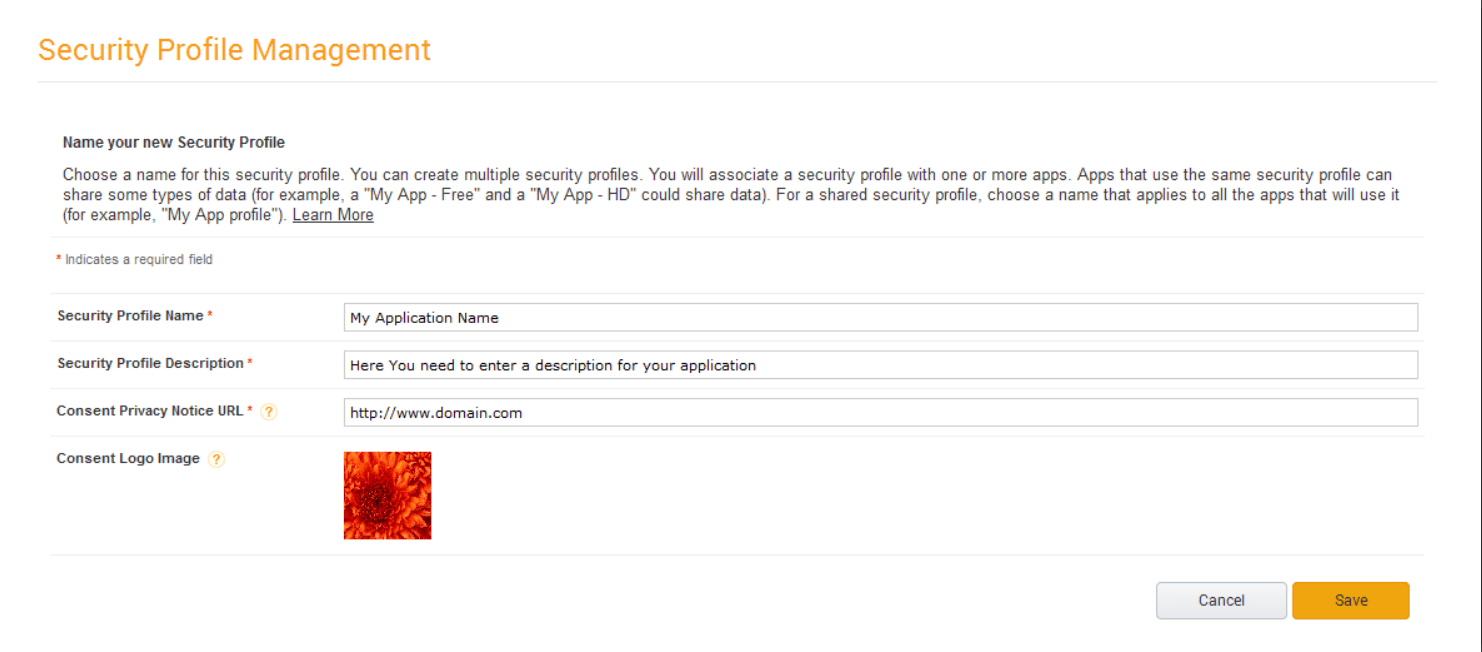
When you click on “Create a New Security Profile”, A new window will pop up (see image below). Enter a security profile name, description and privacy notice URL for your new app. If you want to use your own Logo or image for the Application, you can do that by setting image over here. Now Click on Save.
Now you have successfully created a Amazon Application and you should be redirected to the Application page which should look like the one on the image below. Once your profile has been created, go to Settings(icon under Manage) in the menu you will find Web Settings in the bottom right (the cog icon).
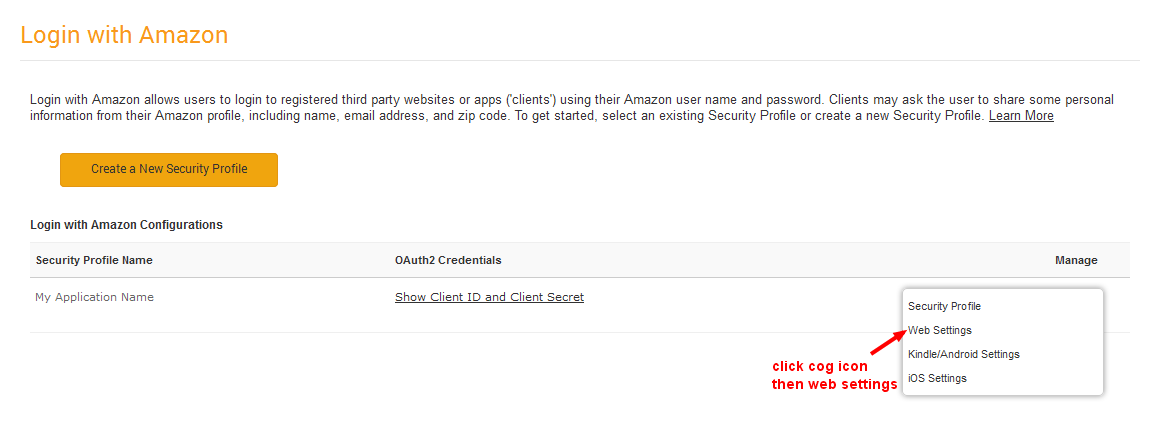
Once you click on “Web Settings” you will see the page similar to the image shown below.
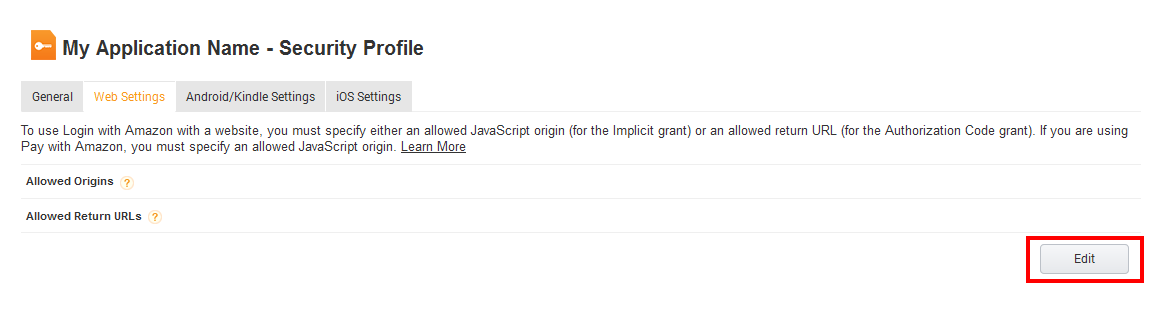
Select Edit it will popup a window as shown in the image below.
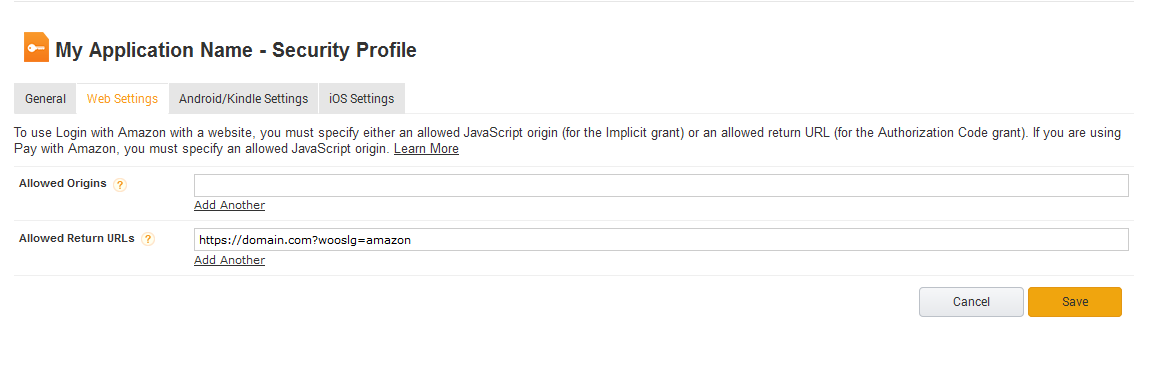
Click “Save”, and go to the “Web Settings Tab”. You will see the page as mentioned in the image below.
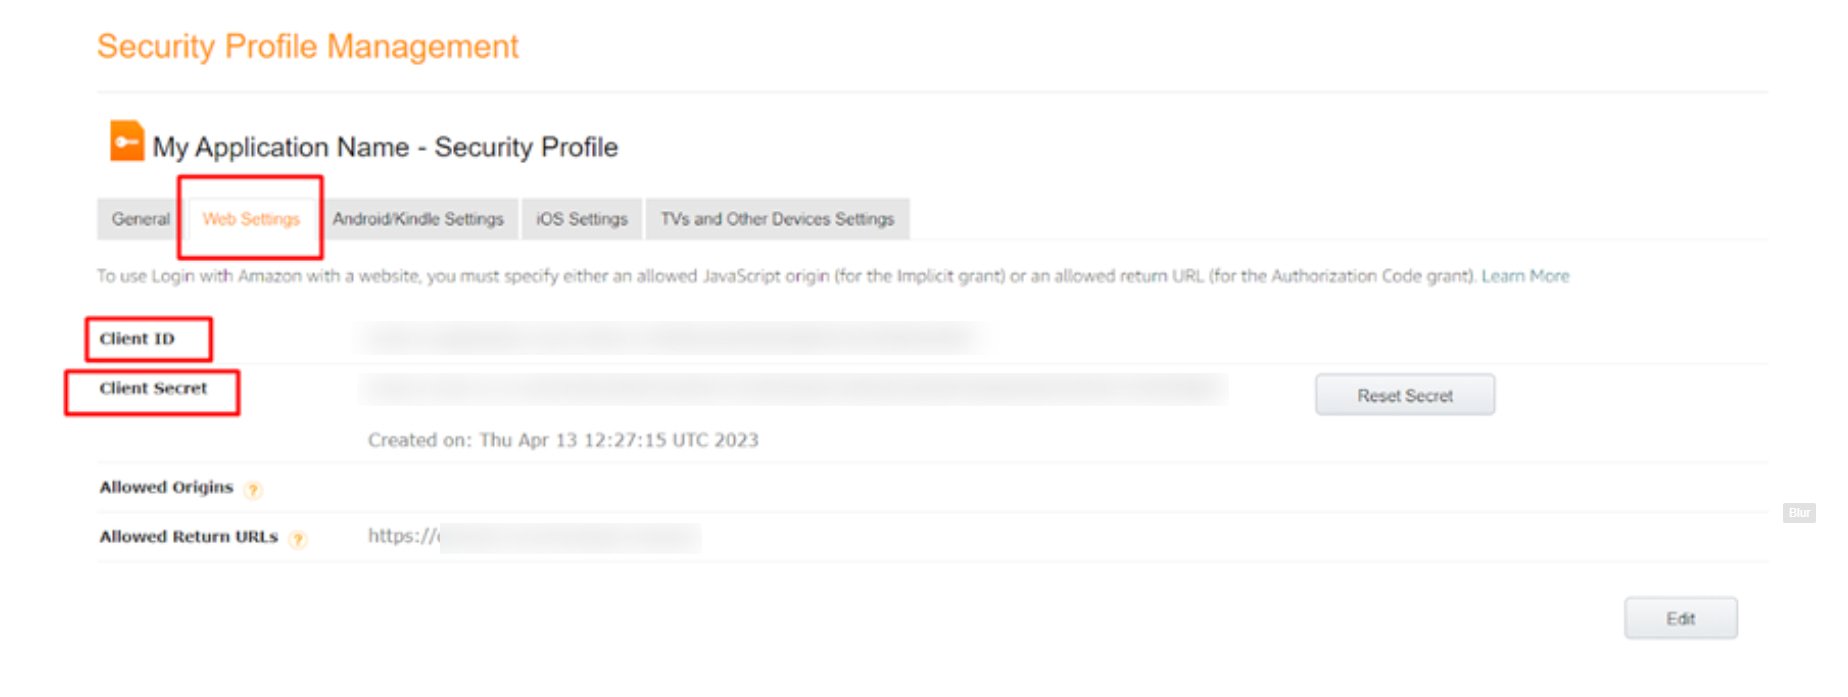
Now, Copy the Client ID and Client Secret in to the Amazon App settings within the Plugin settings page. See image below.
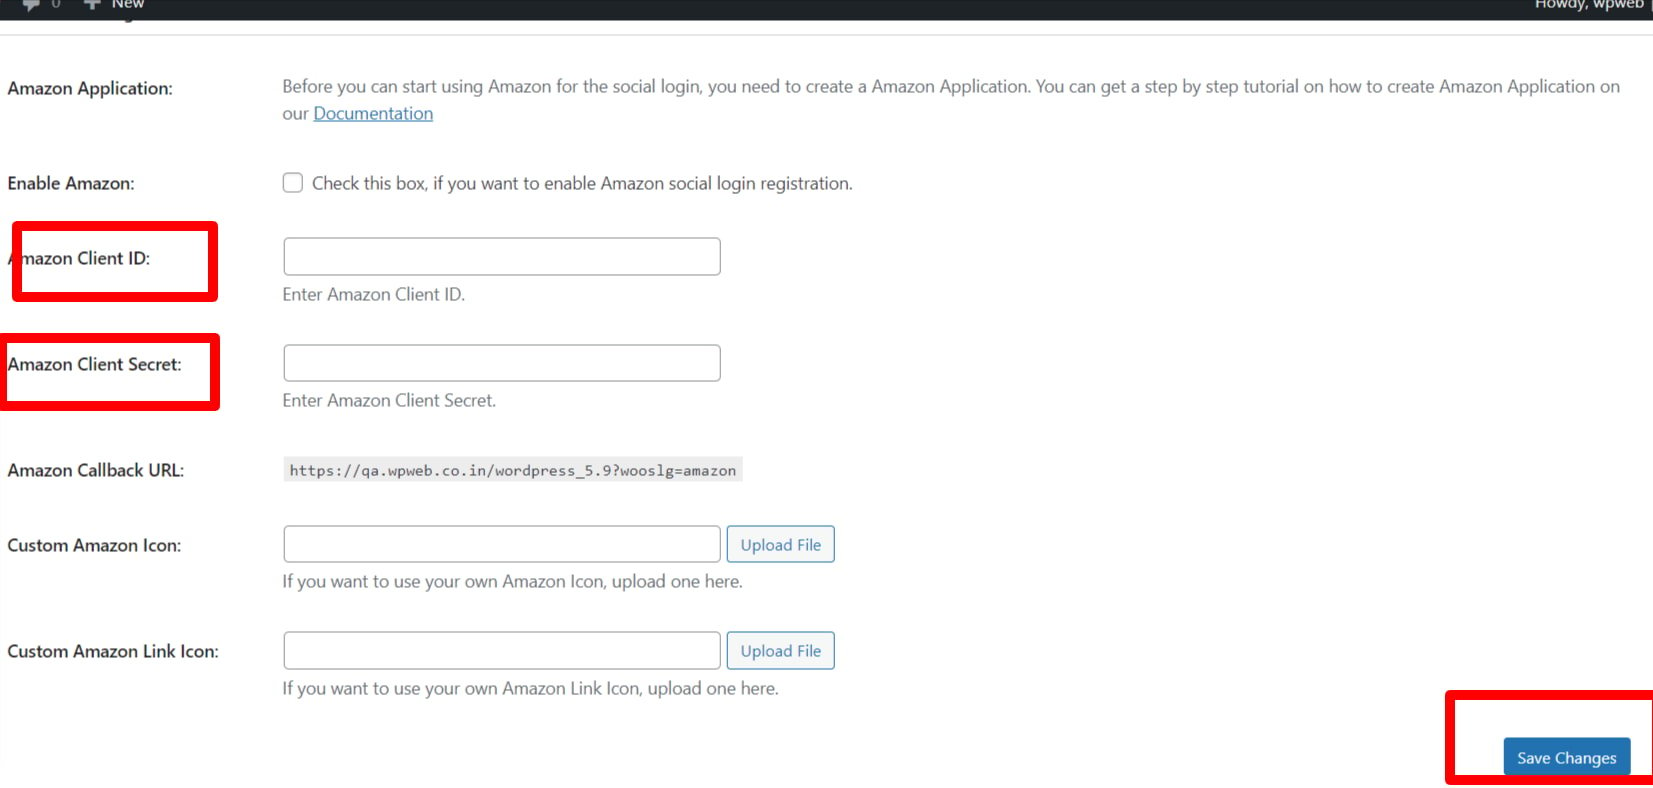
After you entered the Client ID and Client Secret, click on the “Save Changes” button within the plugin’s settings page.