“Social Network Integrations” Documentation by “WPWeb”
To create a LinkedIn App, go and visit: https://www.linkedin.com/secure/developer.
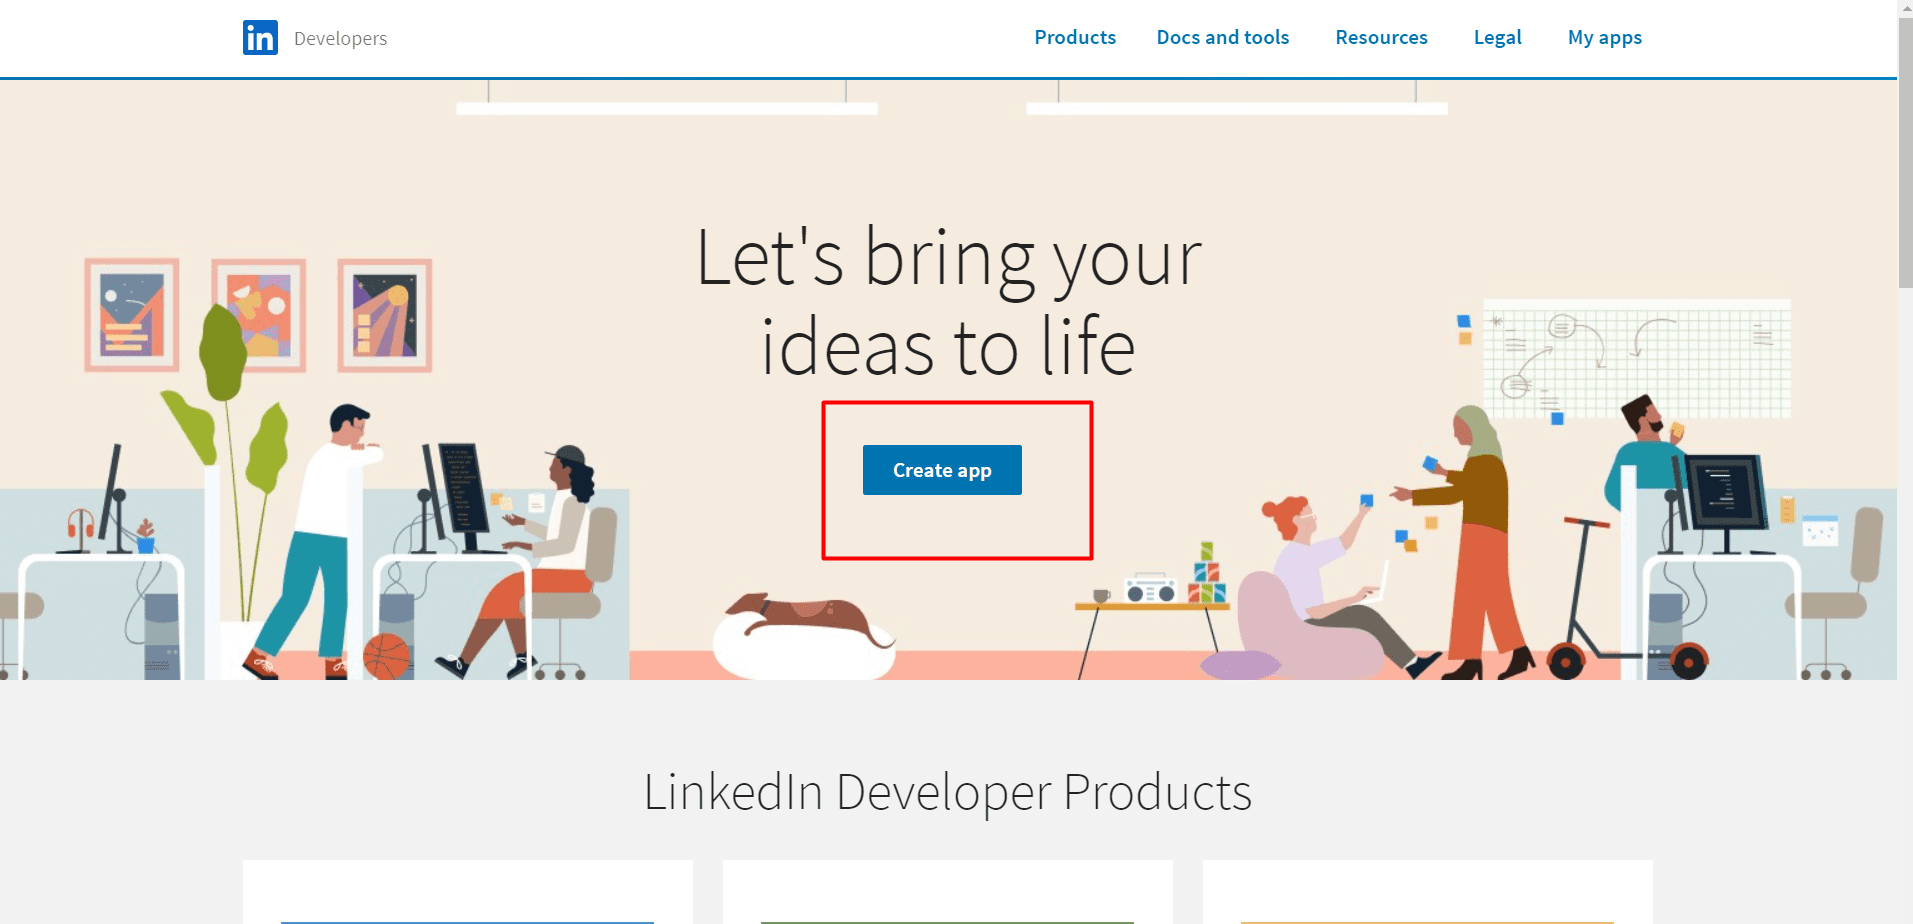
You need to be logged in to your LinkedIn account to be able to access their developer page. So first, login to your LinkedIn account and then follow the link above to get to their developer page and login to developer account. After login to developer’s Account. You will find the “Create App” button. Click on it. The page should look similar to the one shown in the image below:
After you click the “Create App”. You will be redirected to “Create Application” . On that page enter all the required information. The screen will look similar to image shown below.
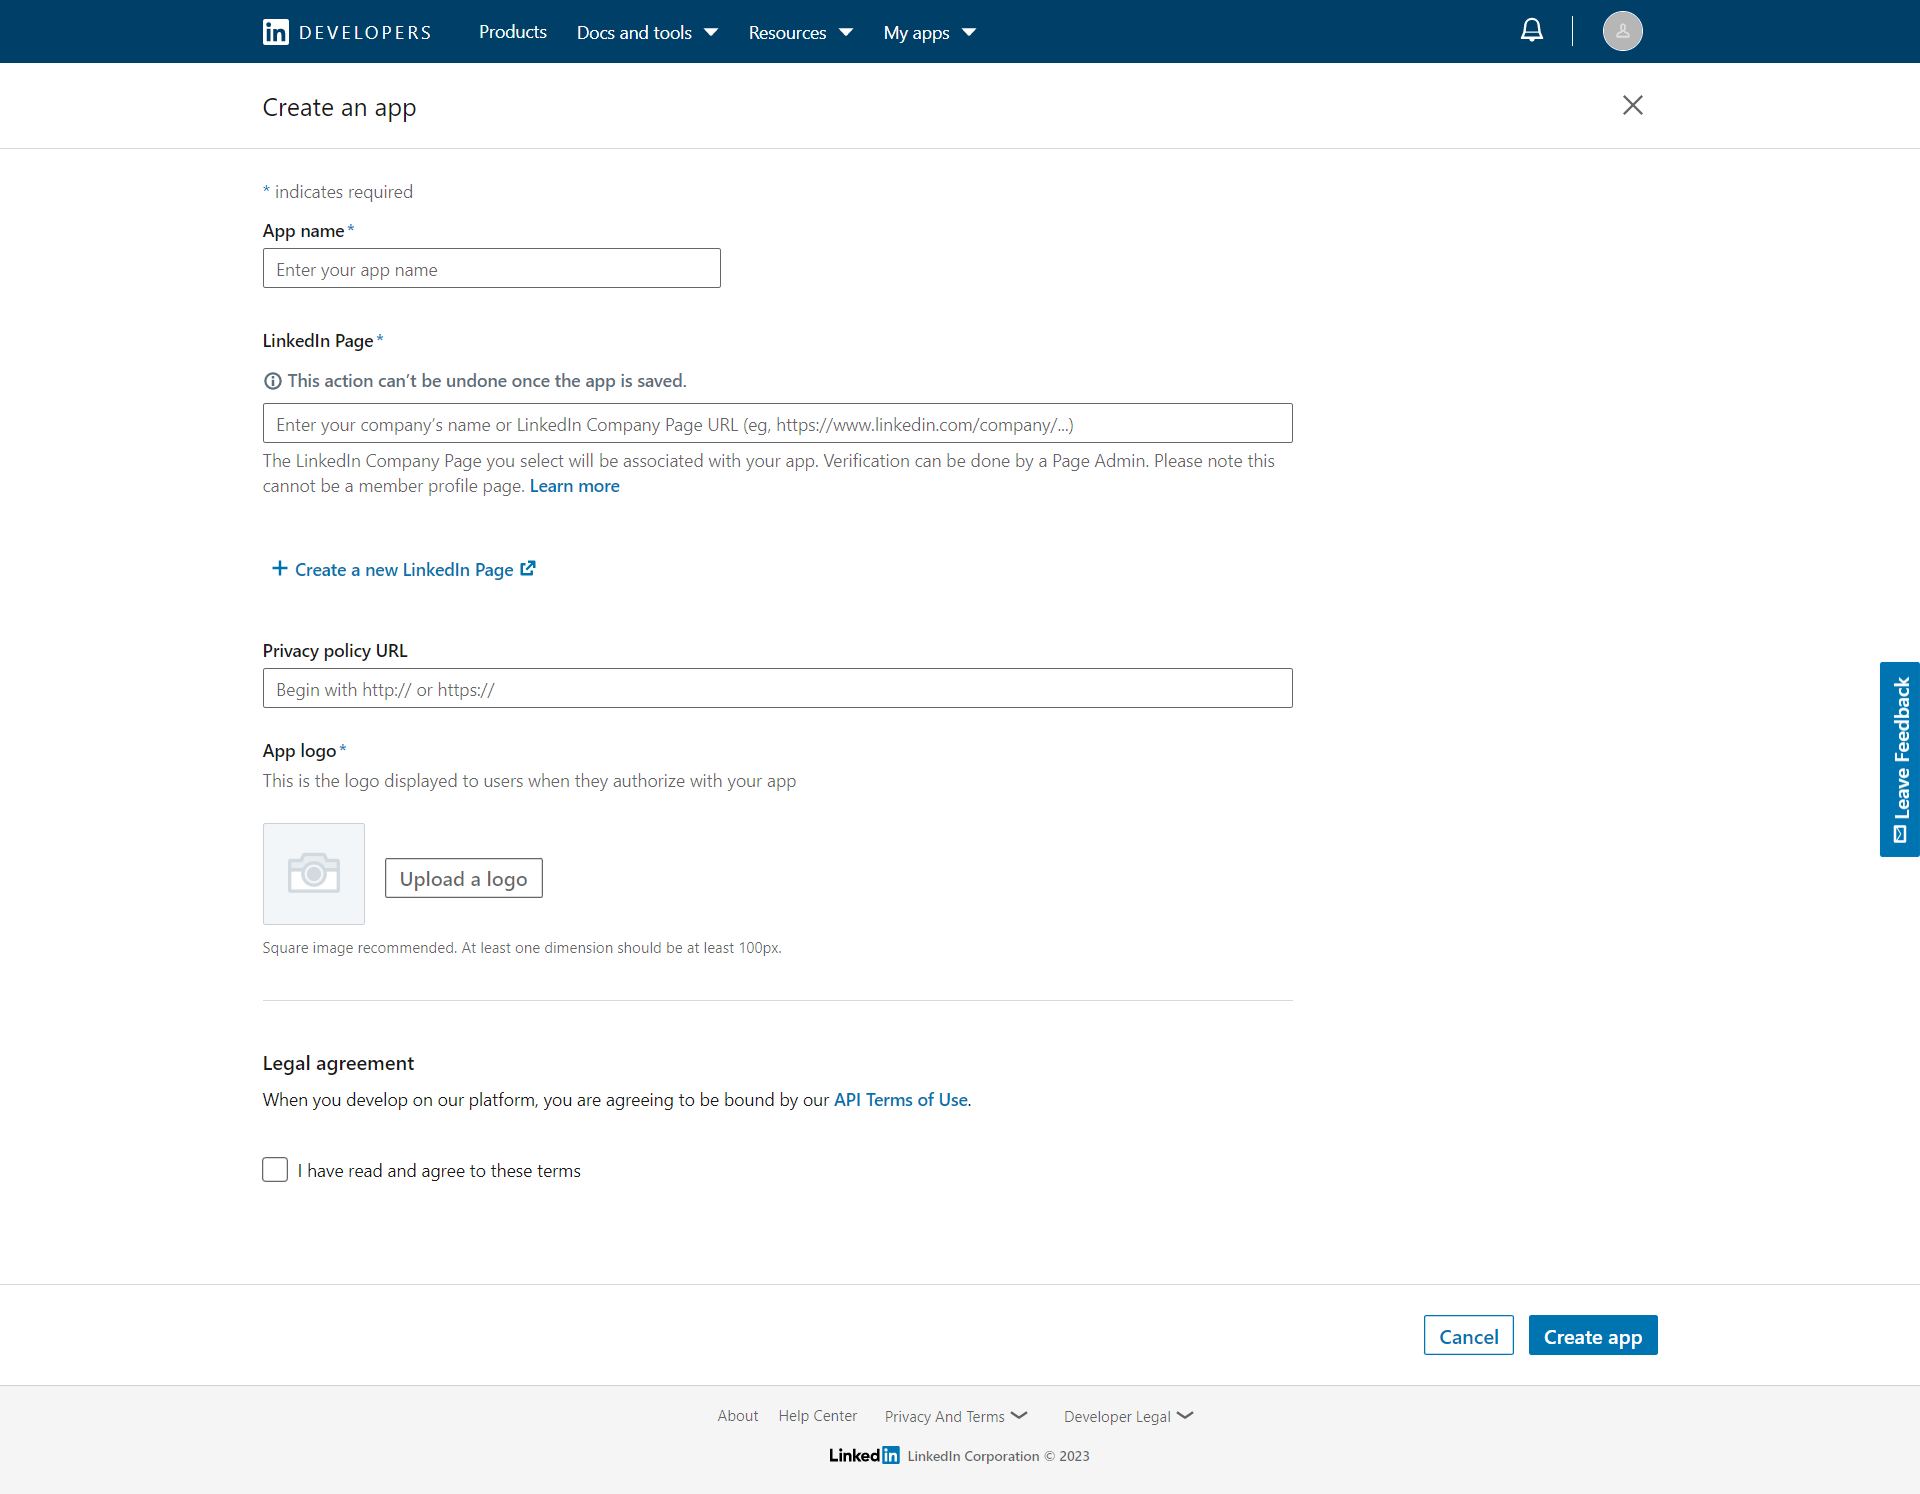
Within the Application Info make sure, that you enter the correct URL of your website and that the URL you enter there does match 100% the one from your website. So if the URL of your website does include the www like http://www.domain.com than you need to enter it like that. If the URL of your website doesn’t include the www, than you don’t need to include the www within the URL. It’s important that the entered Website URL does match the one from your actual website, otherwise the App won’t work correctly and it will show an error message when you or your users try to connect with the App.
After you entered all the required information, check the box at the bottom of the page to agree to the LinkedIn API Terms of Use and click on the “Create App” button.
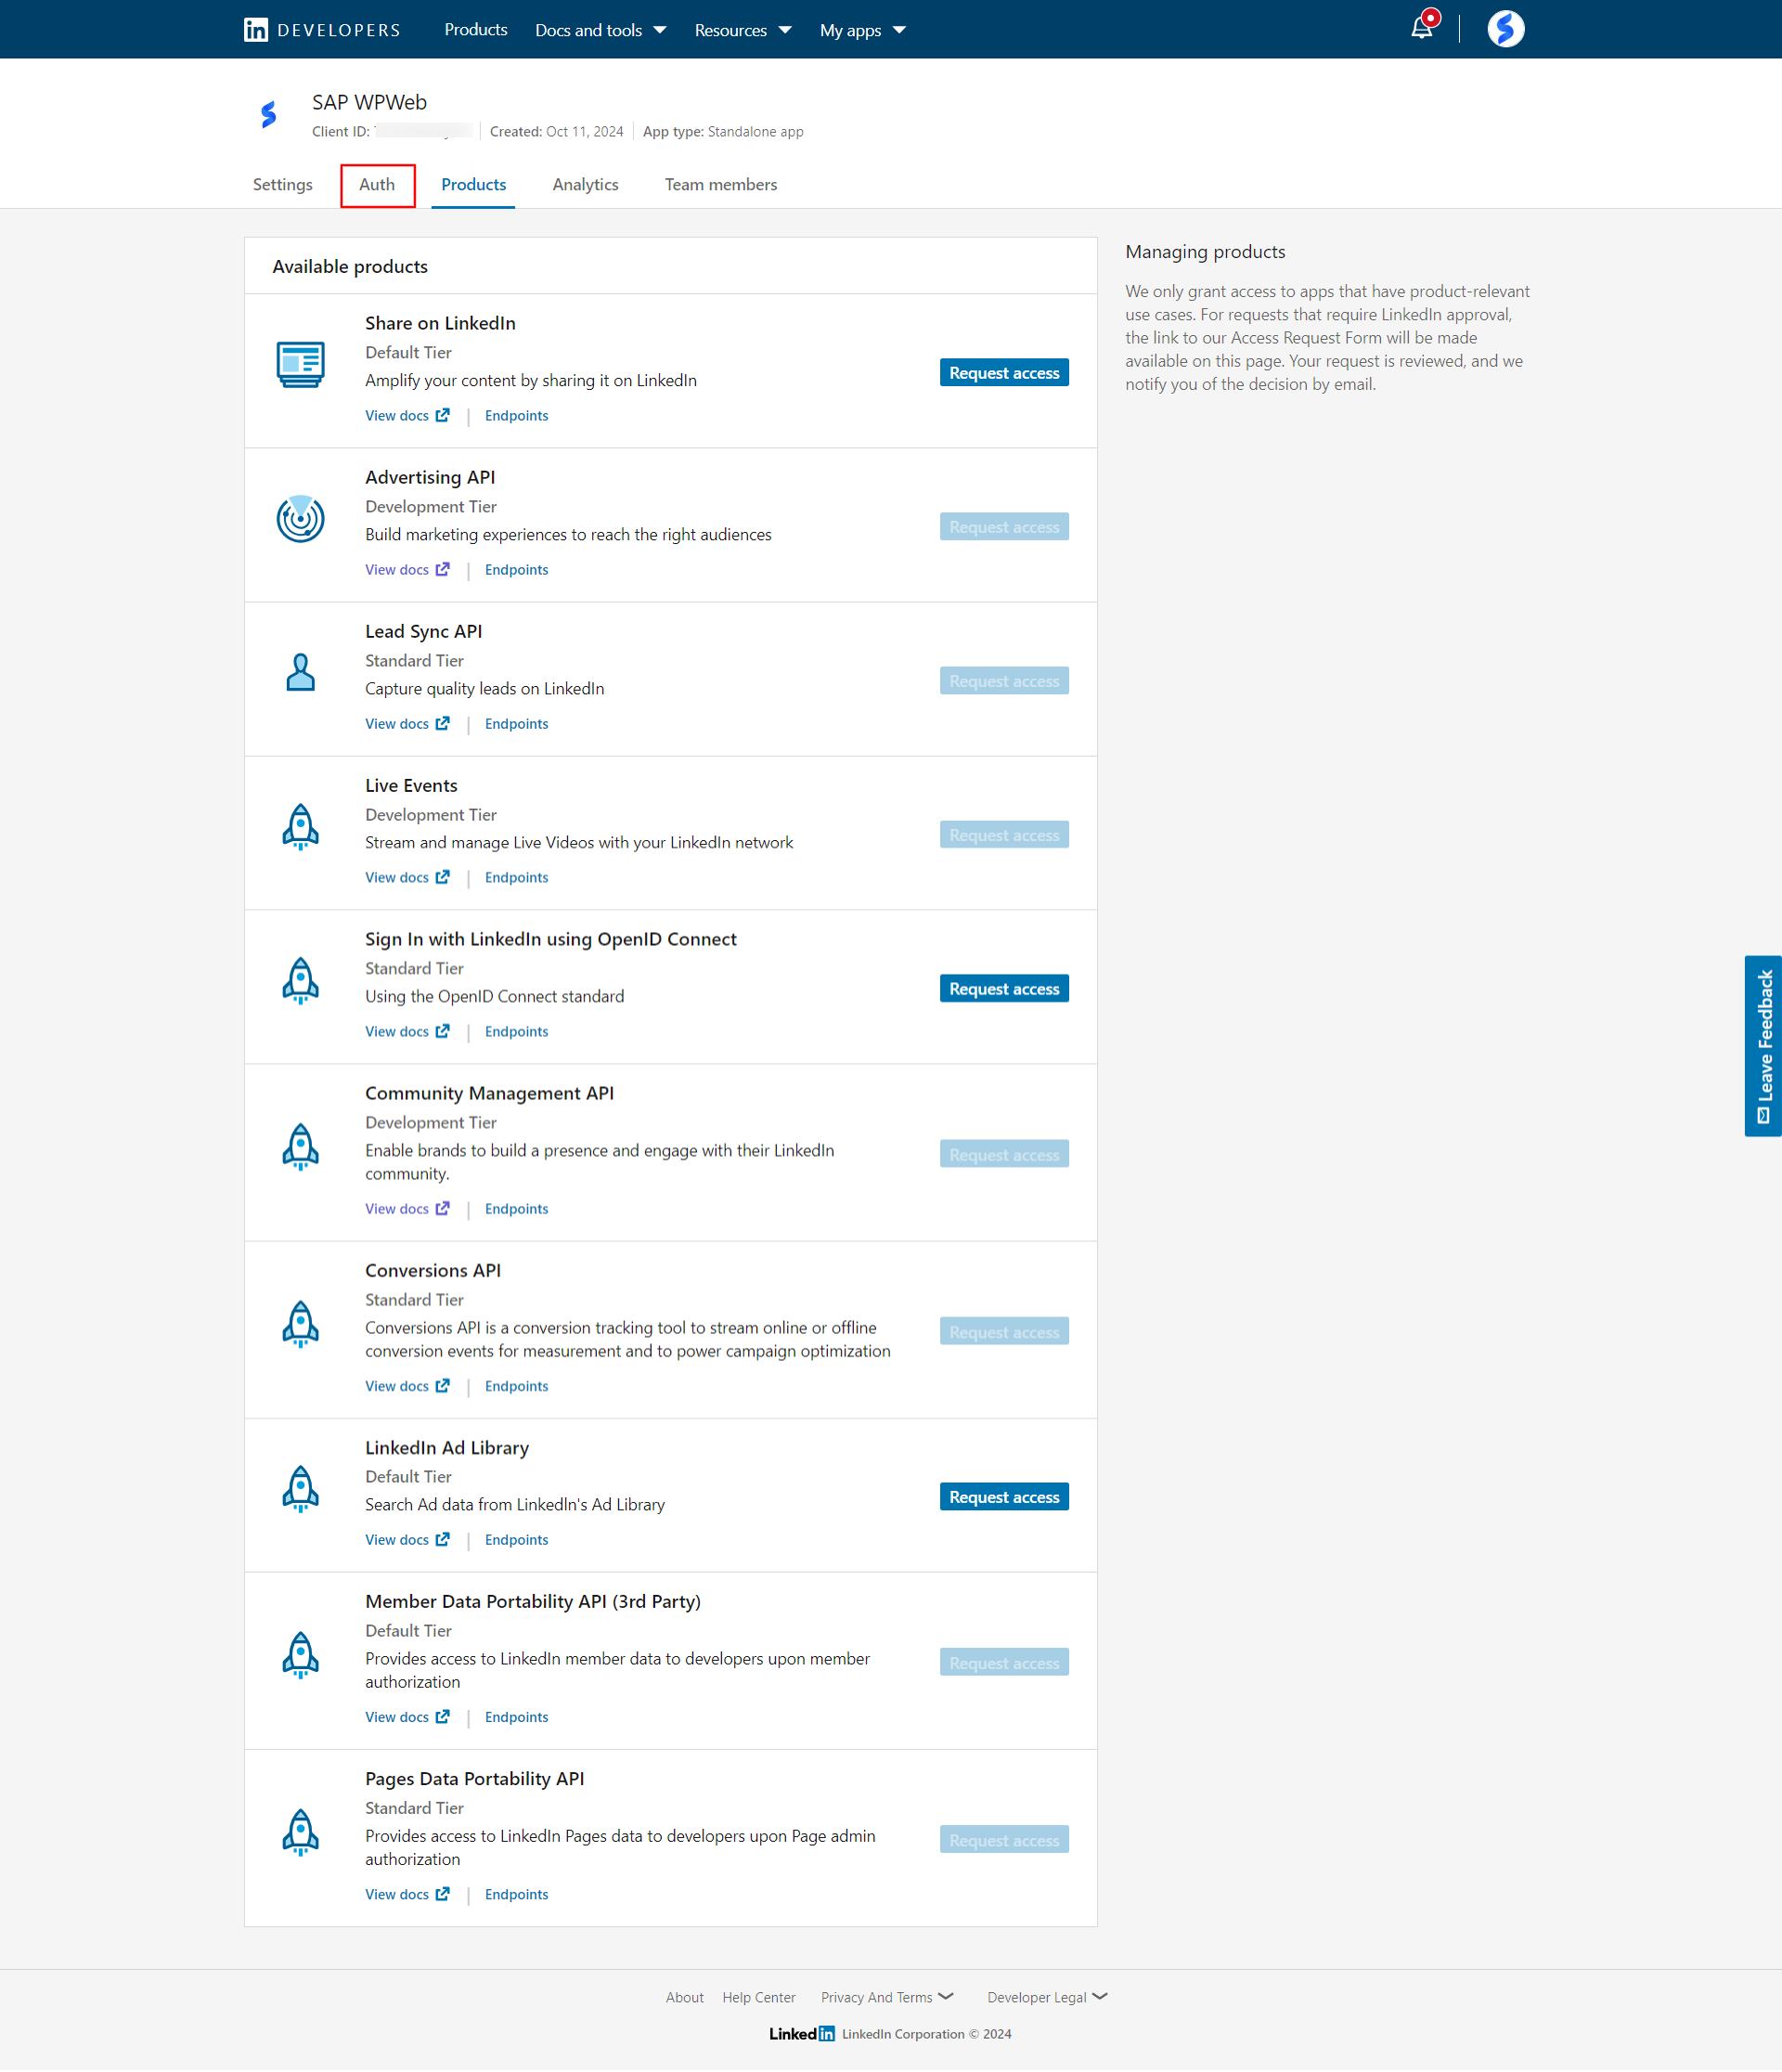
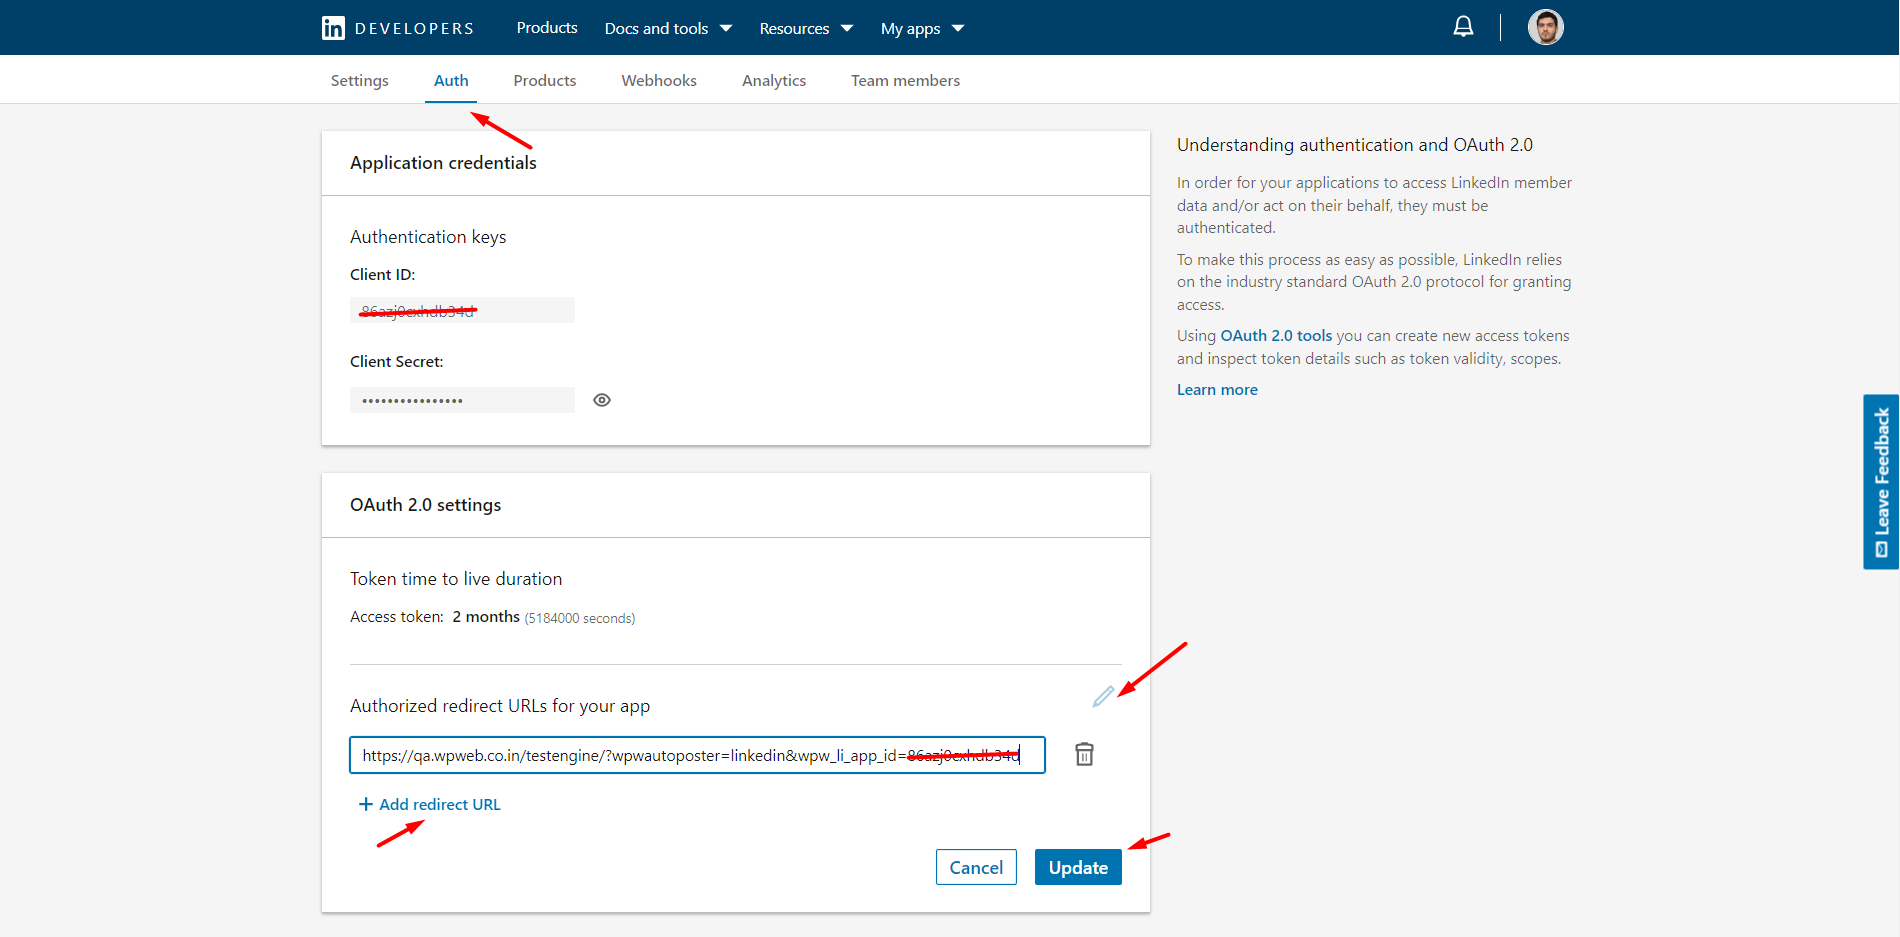
After you create app you will be redirect to Products page. You will find Auth in the menu. Click on Auth. The Product Page screen will look similar to image shown below :
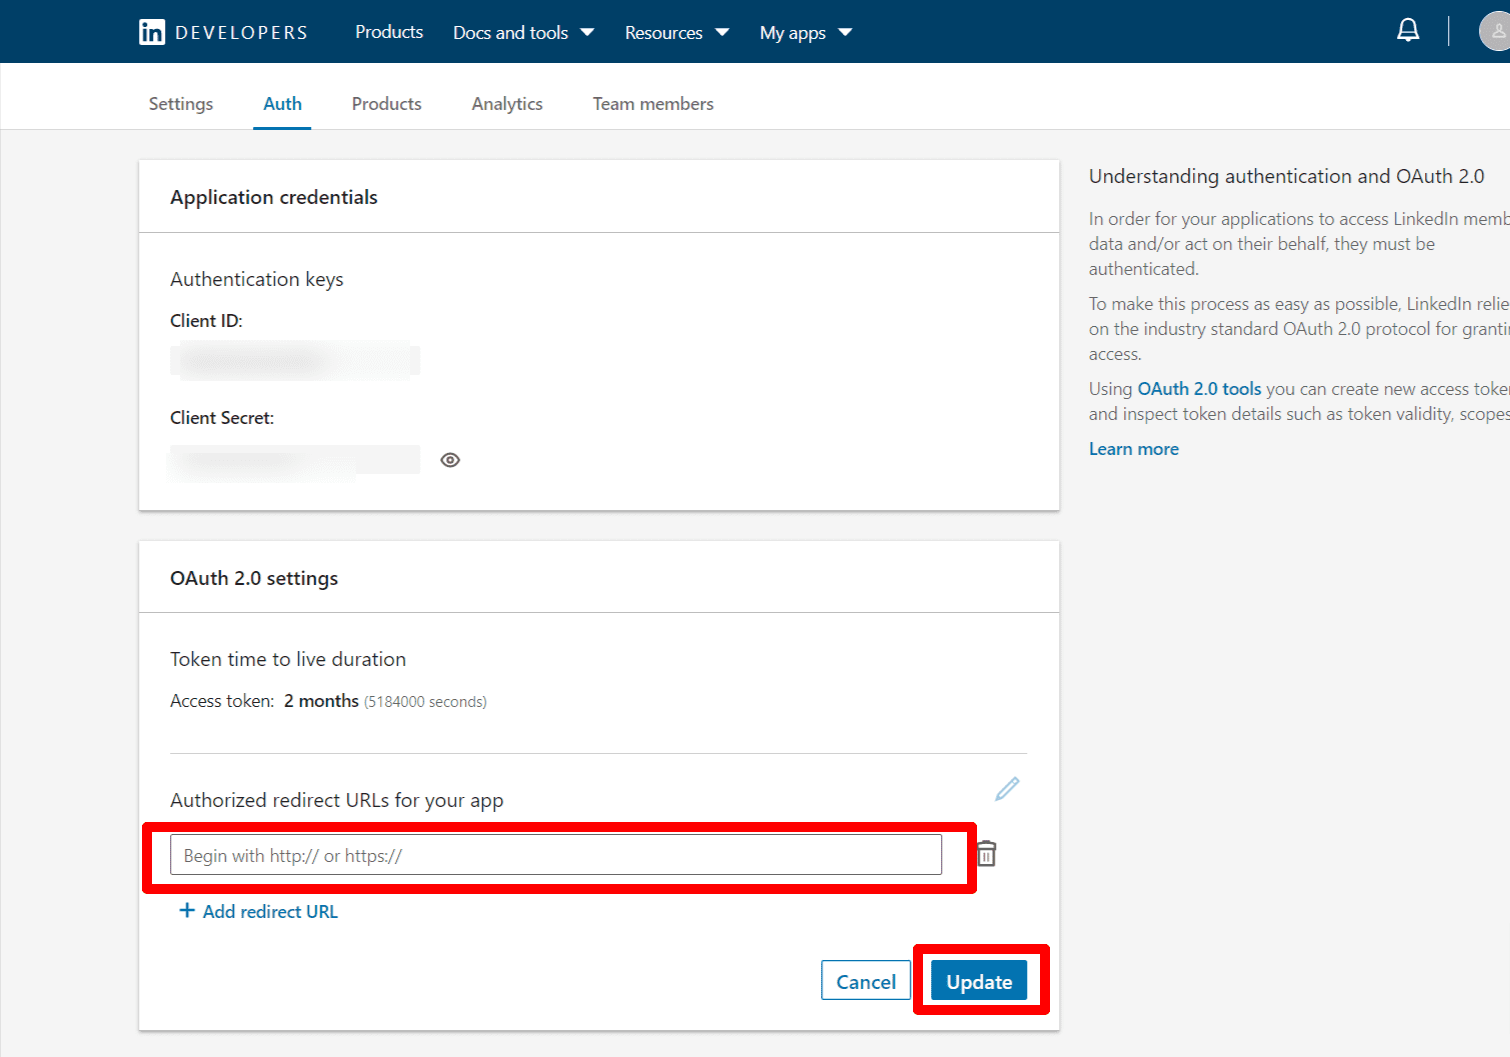
On the Auth Page, Use the “OAuth 2.0 Redirect URLs” field same as the LinkedIn callback URL and click on ‘Update’ button.
Now copy the Client ID and Client Secret you will be able to see on Auth Page on the starting of the page. Auth Page will look similar to the image shown below:
Copy the API Key and Secret Key in to the LinkedIn App settings within the Plugin settings page. See image below:
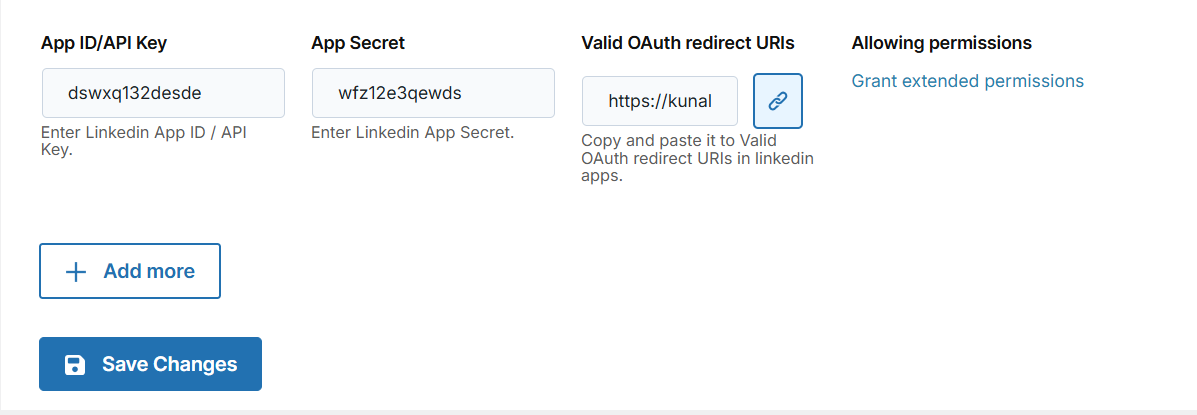
After you entered the App ID and App Secret, click on the “Save Changes” button within the plugin’s settings page.
Now please do copy the valid redirect URL from plugin setting once your API key and Secrets are saved, you will need to insert that Redirect URL on LinkedIn APP under auth menu.
Now you need to add two product’s “Share on LinkedIn” & “Sign In with LinkedIn using OpenID Connect” as shown in the screenshot below:
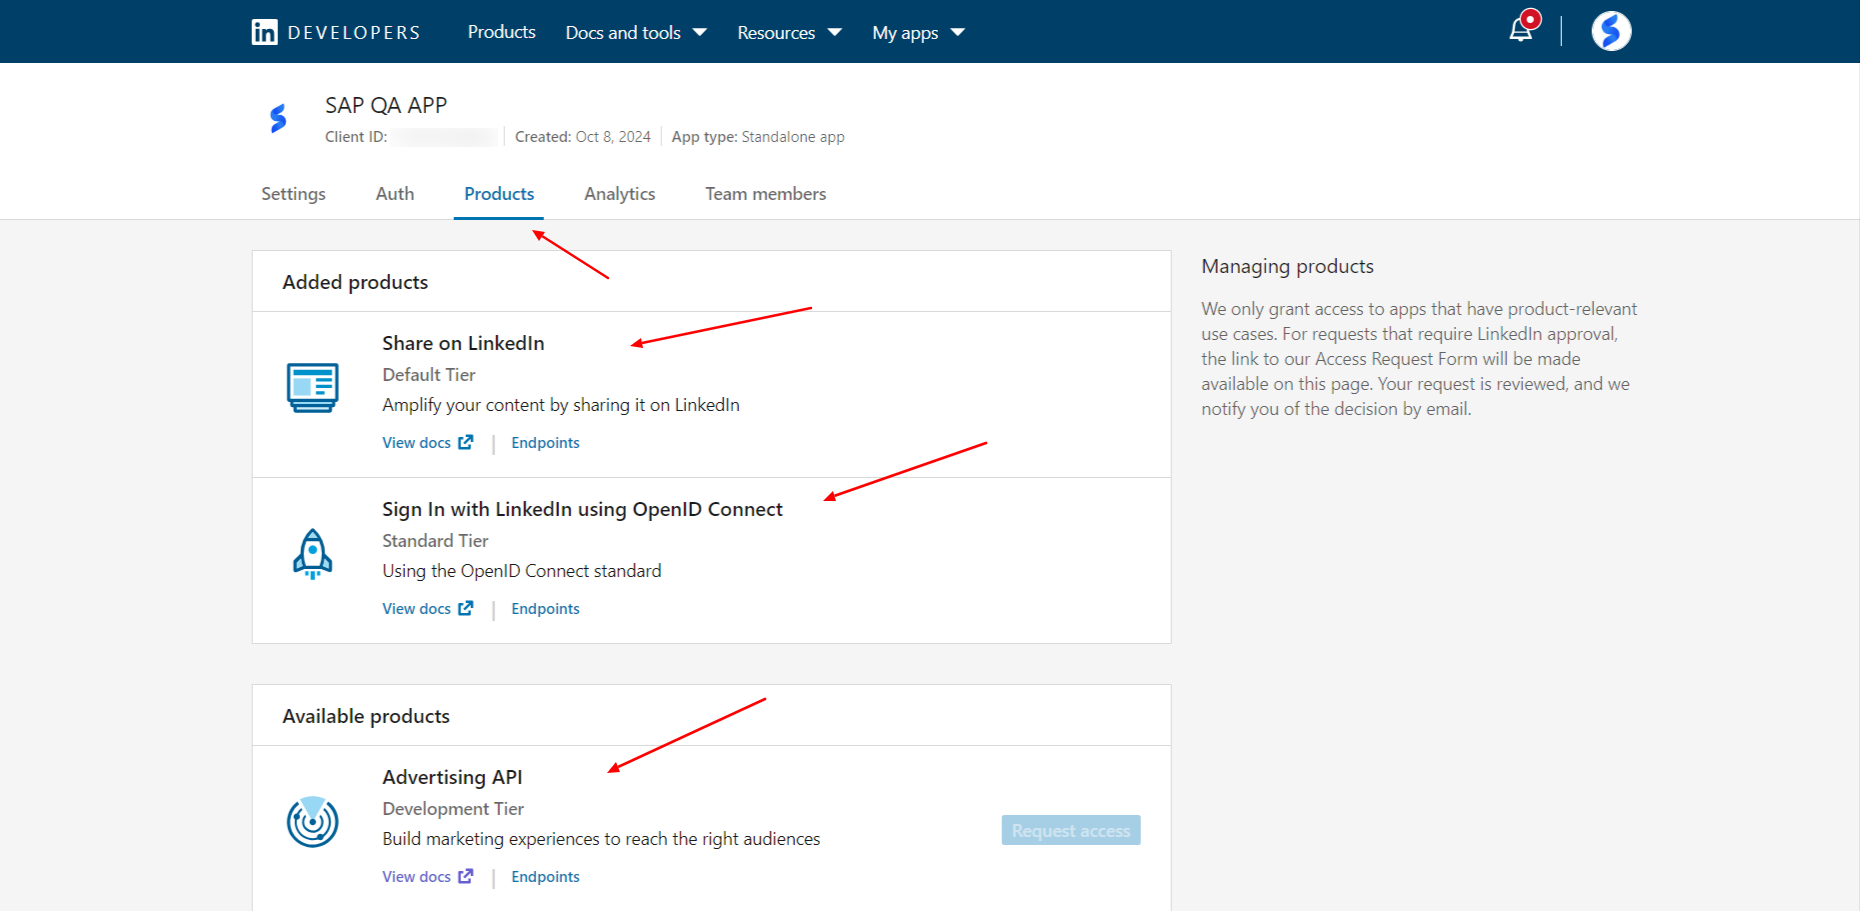
Now for the Company Page posting if you are willing to get posting automated over your LinkedIn company page too, you will be required to add Advertising API as product for your LinkedIn APP too.
For Company Posting required Product Advertising API will require you to follow up with a short submission for the Company verification which in end will take 20-25 days for linkedin to validate your request with that.
LinkedIn App Review Submission
The plugin is updated with LinkedIn OAuth v2.0 so, if you want to publish your post on LinkedIn pages, you have to submit your LinkedIn app for review.
Step – 1
Link your company page with the OAuth App. Once you link your company page with App, you will receive confirmation email with confirmation link. Just verify it, and it will mark verified as shown in the screenshot.

Step – 2
For LinkedIn when you create app with above steps by default you will get w_member_social permission but in order for you to be able to do posting on you LinkedIn Company Pages, you will be required to get w_organization_social and r_organization_social permissions from LinkedIn. For gaining the mentioned API permission you will need to add additional product to your LinkedIn APP.
Steps to gain the required permissions for Company Pages:
1) Navigate to your Developer APP Dashboard,
2) Go to Product section,
3) Add Product -> Advertising API
– This product requires additional verification from LinkedIn and you will need to submit form.
– Once you click on request for that product, it will render a link for form where you need to submit your basic information such as name and company information.
4) Once, you have gained the product on your developer APP,
5) On social auto poster there is checkbox for Enable Company Pages, you need to click enable that option and save the setting before you set Grant Extended permission with LinkedIn
6) Once that is done you will be able to find your basic LinkedIn profile along with your company page / pages where you can post with social auto poster.