Creating a Windows Live Application

“Social Network Integrations” Documentation by “WPWeb”

To get a Windows Live App detail, go and visit: https://portal.azure.com/#blade/Microsoft_AAD_RegisteredApps/ApplicationsListBlade.

You need to be logged in to your Microsoft Azure account to be able to get Windows Live remote key and nickname. So first, login to your Microsoft Azure account and then follow the link above to get to their developer page. This should look similar to the one shown in the image below:

Win 1

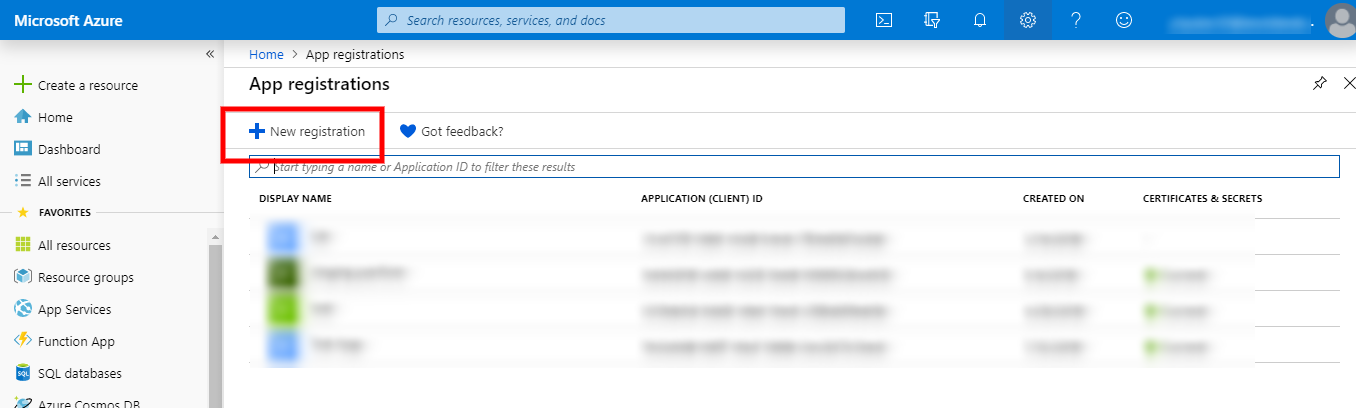
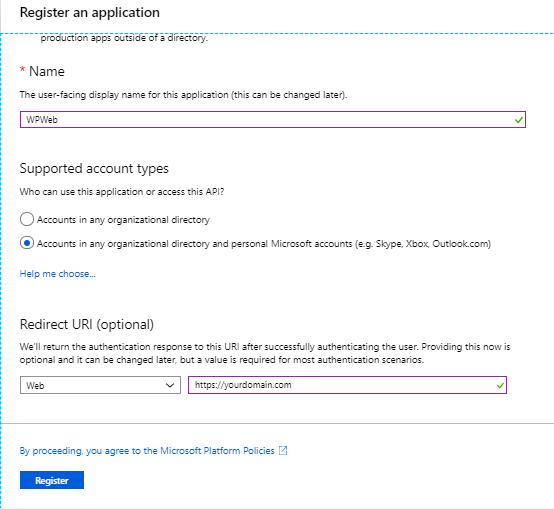
To create a new application click on “New Registration” button. Enter name of your application, the URL of your website in to the “Redirect Urls” field and hit REGISTER button. See the image below:

Win 2

After create a new application you will redirect to application overview page. From here you will get your Client Id (App Id).

Win 3

Note: When you enter the URL of your website in to the Website field, make sure that it does match the URL of your website 100%. This means, if you go to your website and then check the URL in the browser and the URL does look like http://www.domain.com then you need to enter the exact same URL. If your website URL is http://domain.com then you need to enter it that way, without using the www at the front of the name.

Use the “Redirect URLs” field same as the Windows Live callback url. If these entries do not completely match the URL of your website, the application won’t work and it will show an error message when you try to connect to the App.

Important: Microsoft now requires that the redirect URI use SSL for all authentication redirects. If you have previously registered Live SDK applications, then you will also see an option to add another Live SDK application. Live SDK applications doesn’t require SSL.

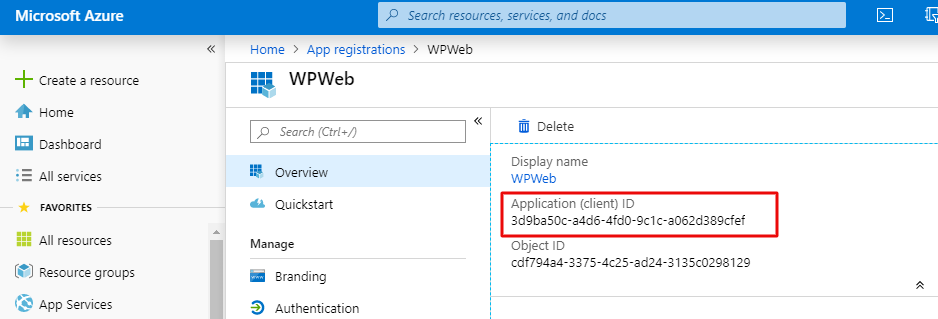
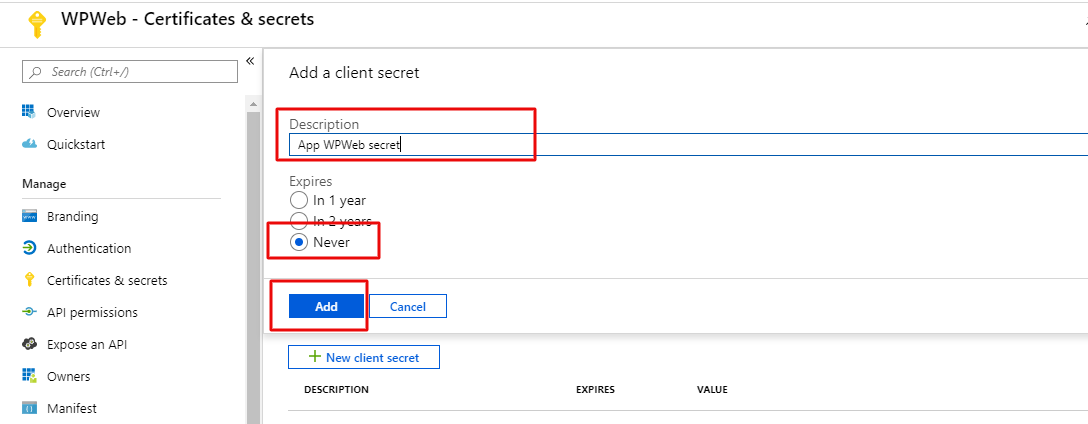
After getting your Client Id, go to Certificates & secrets page and hit button “New client secret” to generate client secret.

Win 4

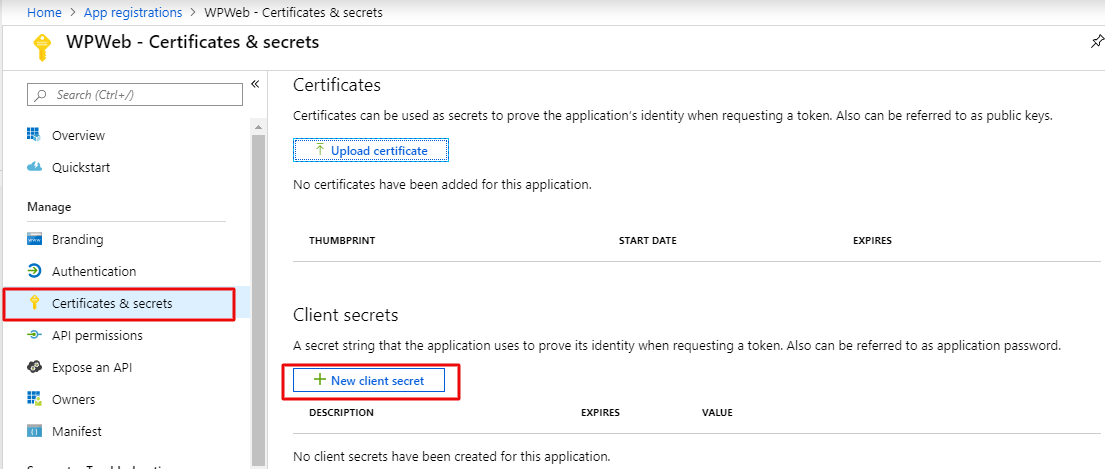
Add a Description and click on Add. See the image below:

Win 5

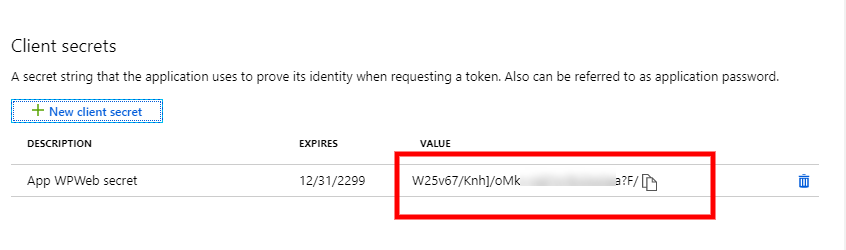
Client secret generated.

Win 6

Now, Copy the Windows Live Client Id and Client Secret in to the Windows Live App settings within the Plugin settings page. See image below:

WL app plugin settings

Important: When you copy and paste all the needed IDs and Keys, make sure, that you don’t have any empty spaces, either at the beginning nor at the end of these entries. If you have any empty spaces, then the Application won’t work and will show an error message when you try to connect to the App.

After you entered the Windows Live Client Id and Client Secret, click on the “Save Changes” button within the plugin’s settings page.