WPWeb Social Network Integration Documentation
To get your Apple Application details, visit the Apple Developer website.
Log in to your Apple Developer account and visit the link above to access the developer portal. The page will look similar to the one shown in the image below.
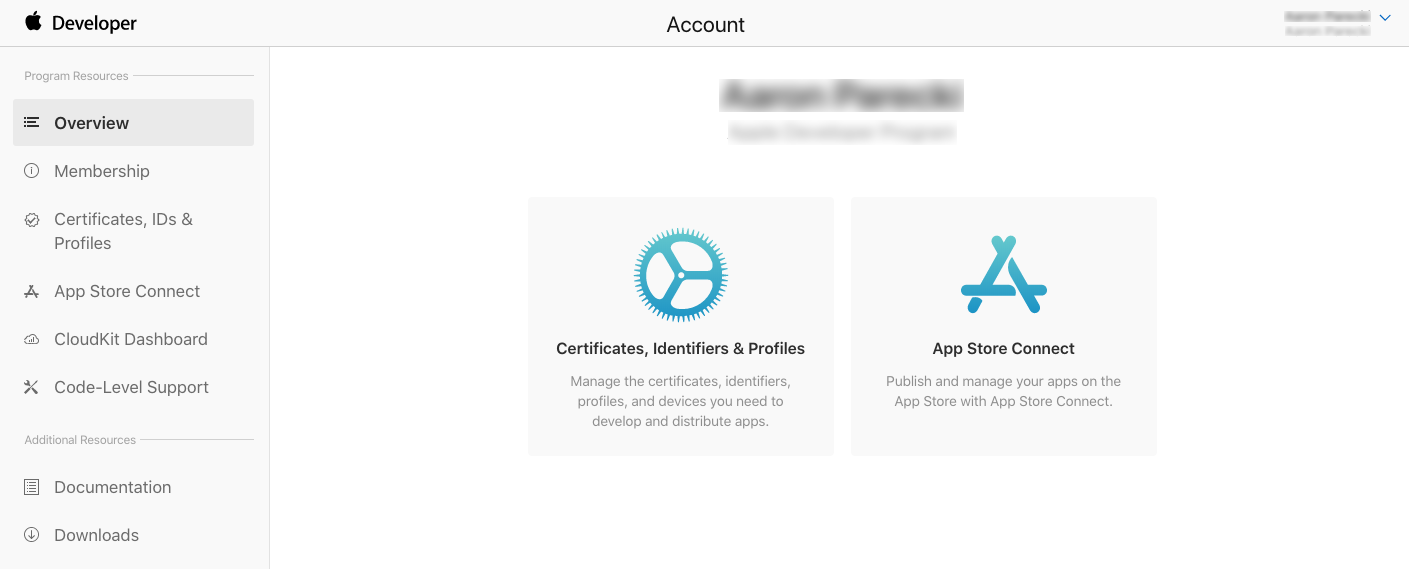
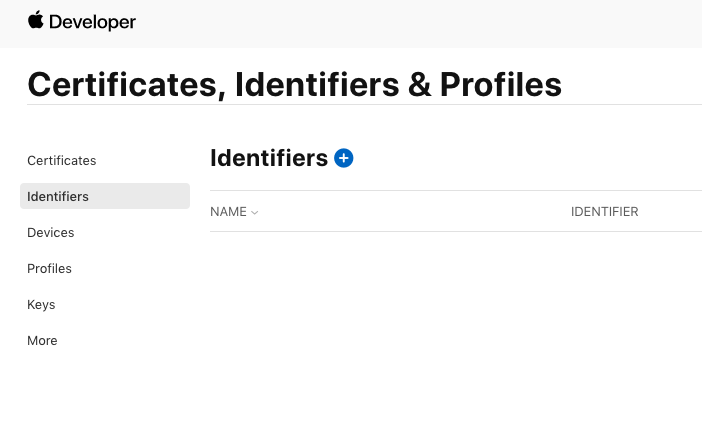
From the sidebar, select Identifiers, then click the blue + icon.
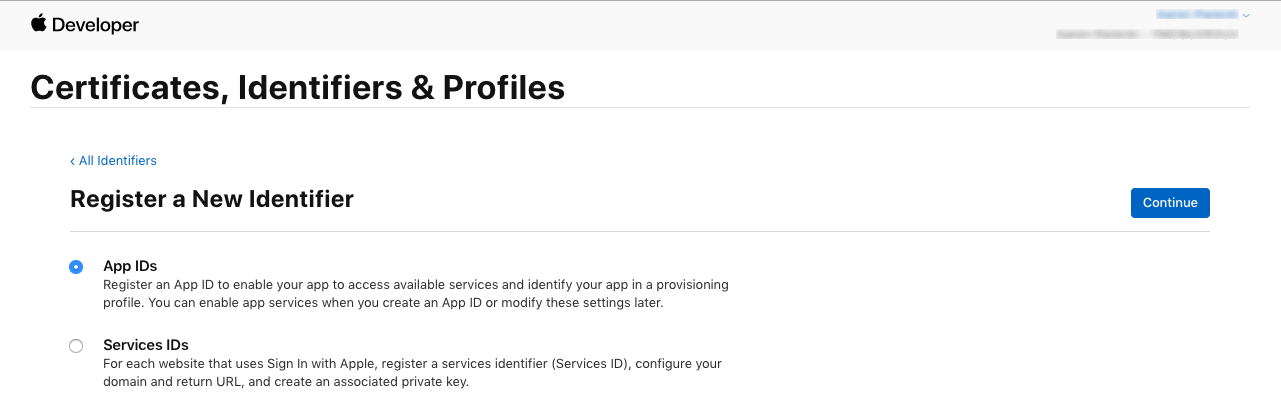
Select App IDs in this step.
On the next screen, enter a Description and Bundle ID for the App ID.
The Description can be any clear and descriptive name. For the Bundle ID, use a reverse-DNS format, such as com.example.app.
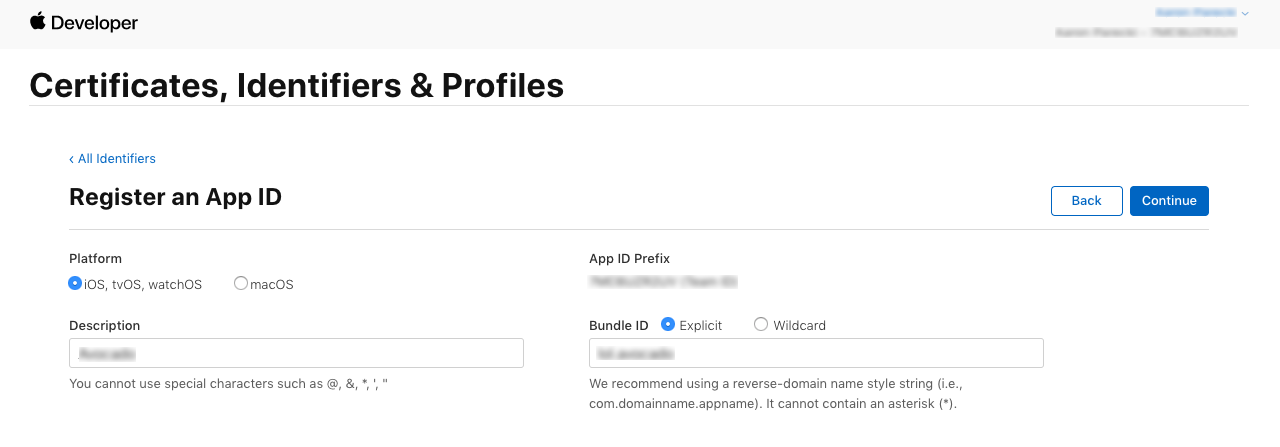
In this example, lol.avocado is used as the Bundle ID because the app will run on the avocado.lol domain.
Scroll down through the list of capabilities and select the checkbox next to Sign in with Apple.

Confirm the App ID configuration from the previous step.
Create a Services ID
Next, create a Services ID. The App ID identifies your application and groups its associated capabilities, while the Services ID identifies the specific web application instance and is used as the OAuth client_id.
Create a new identifier and select Services IDs.
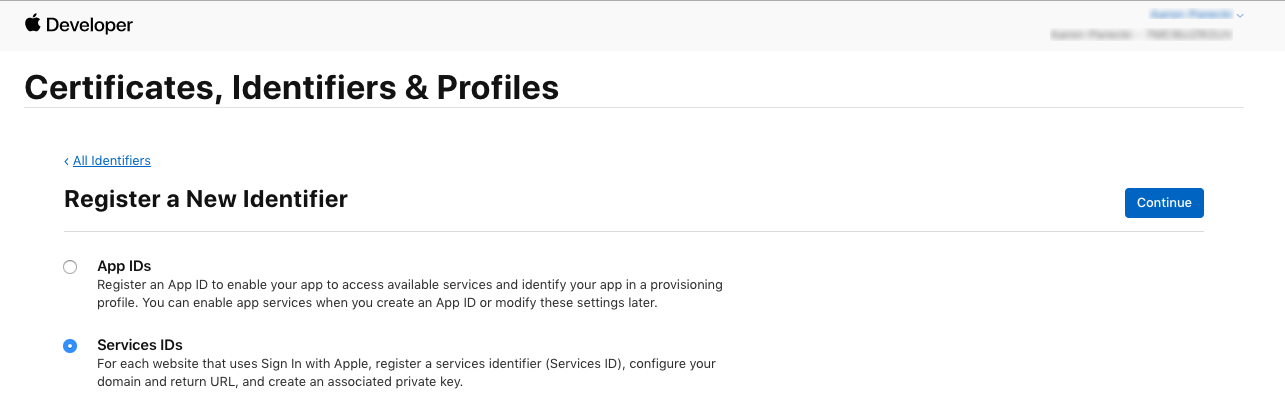
In the next step, enter the App Name that users will see during the Sign in with Apple login flow. Then, enter the Identifier, which will be used as the OAuth client_id.
Make sure to select the Sign In with Apple checkbox before continuing.
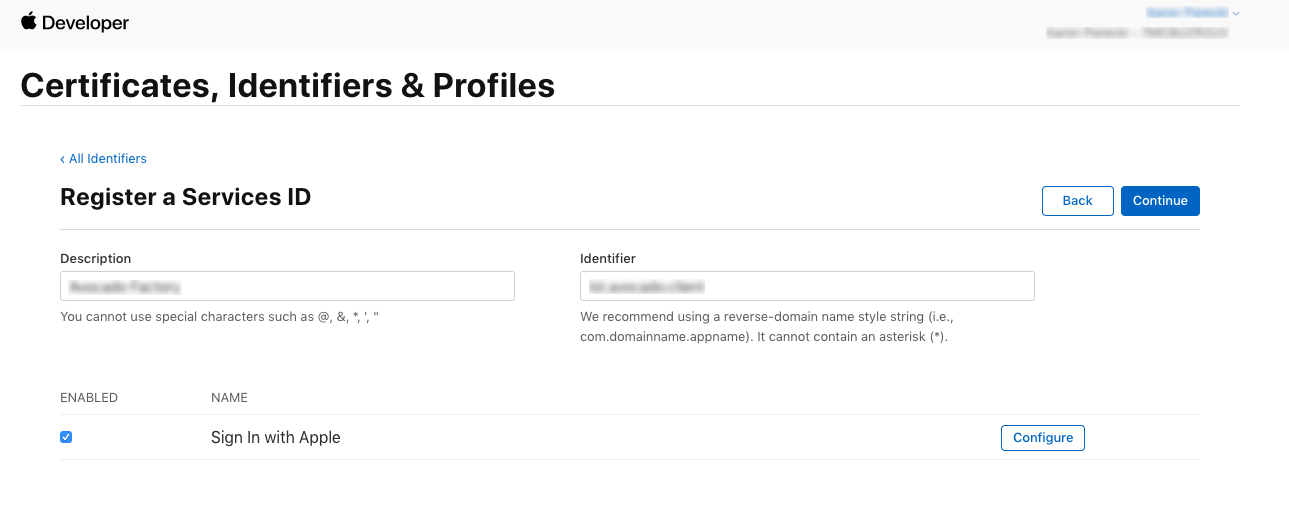
Click the Configure button next to Sign In with Apple. In this step, you will define the domain where your app is hosted and the Redirect URLs used during the OAuth flow.
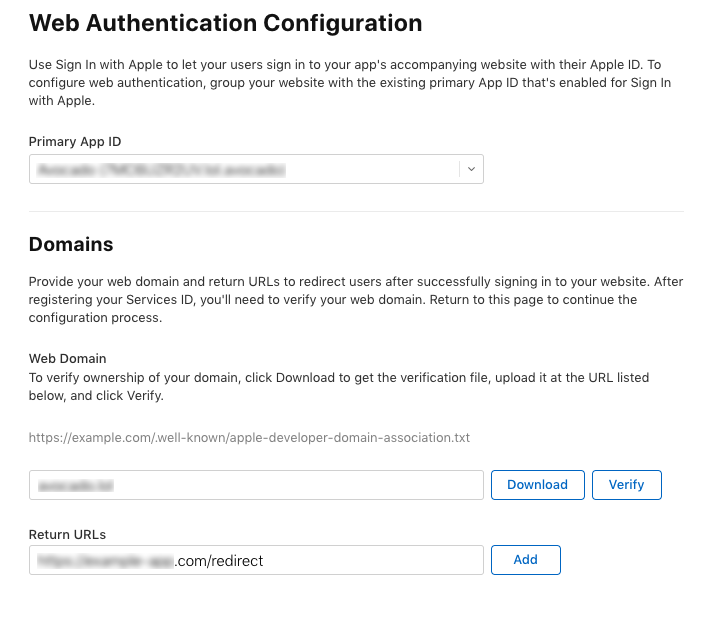
Make sure your associated App ID is selected as the Primary App ID. If this is the first App ID you have created with Sign in with Apple, it may already be selected by default.
Enter the Domain where your application will be hosted and the Redirect URL used for the OAuth flow. You can find the required Redirect URL in the plugin settings page, as shown in the screenshot below.
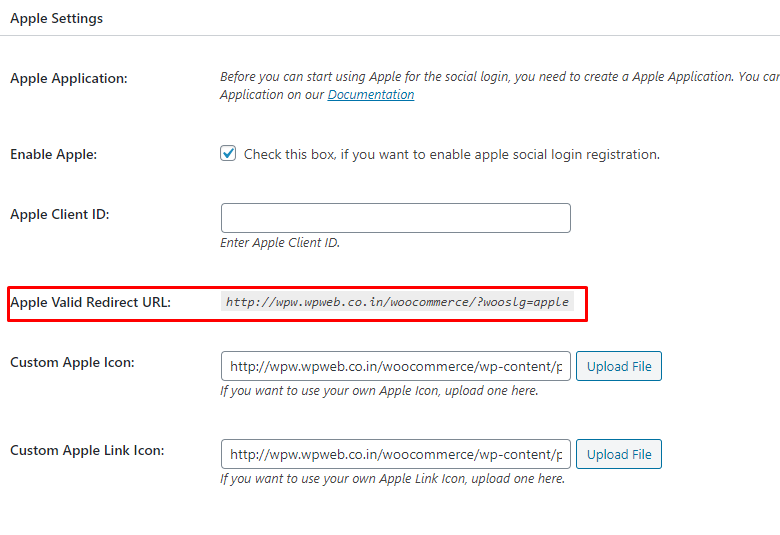
Apple does not allow localhost URLs in this step. Using an IP address such as 127.0.0.1 will also cause the OAuth flow to fail later. You must use a valid domain name.
Click Save, then Continue, and finally Register to complete the configuration.
At this point, you have created an App ID to manage your application settings and a Services ID to use as the OAuth client_id. The Identifier entered for the Services ID is your OAuth client_id. For example, lol.avocado.client.
Create a Private Key for Client Authentication
Instead of using a traditional string as the OAuth client secret, Apple uses a public/private key pair. The client secret is generated as a signed JWT.
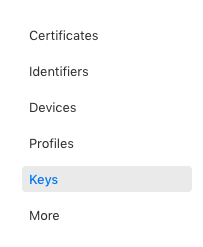
To create the private key, go back to the Certificates, Identifiers & Profiles page and select Keys from the sidebar.
Click the blue + icon to register a new key. Enter a name for the key and select the Sign In with Apple checkbox.
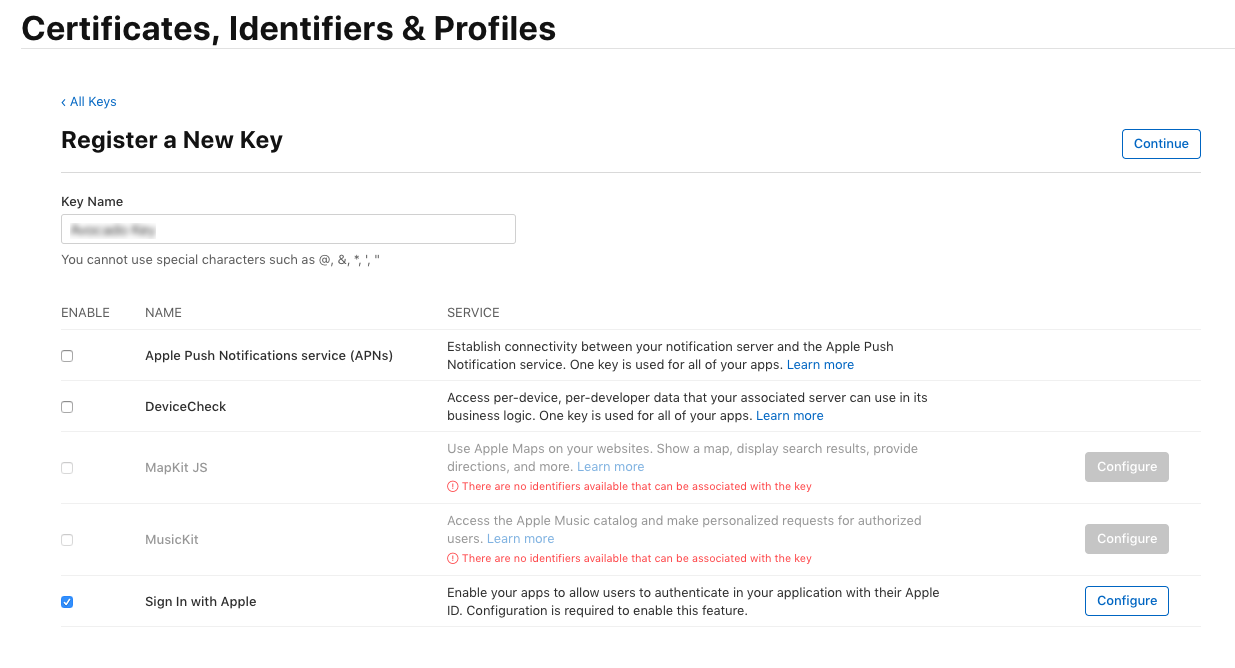
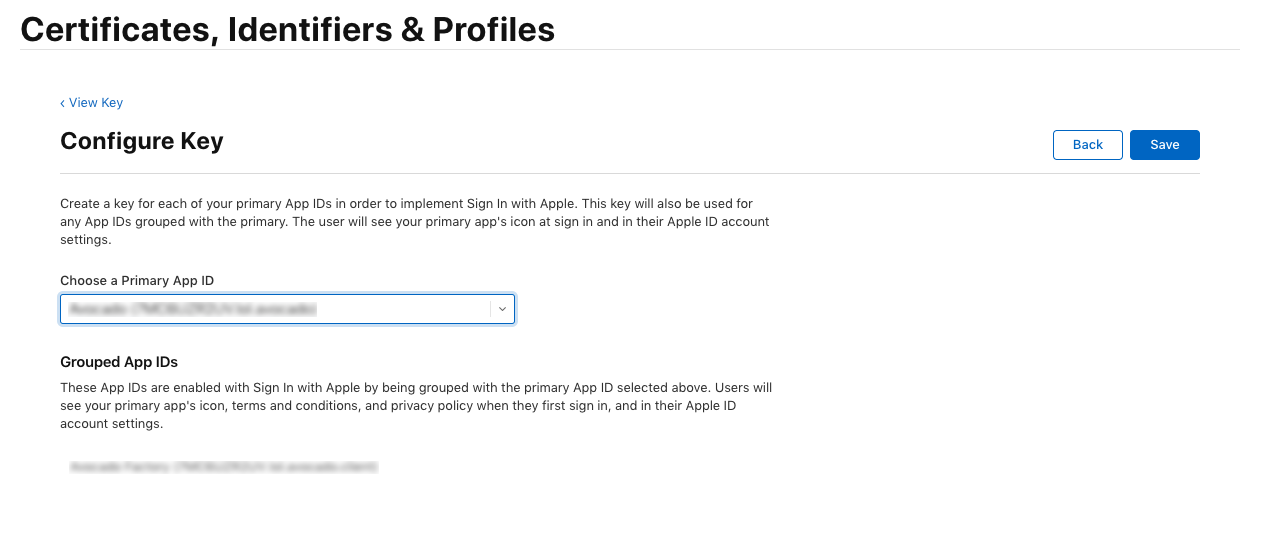
Click the Configure button and select the Primary App ID you created earlier.
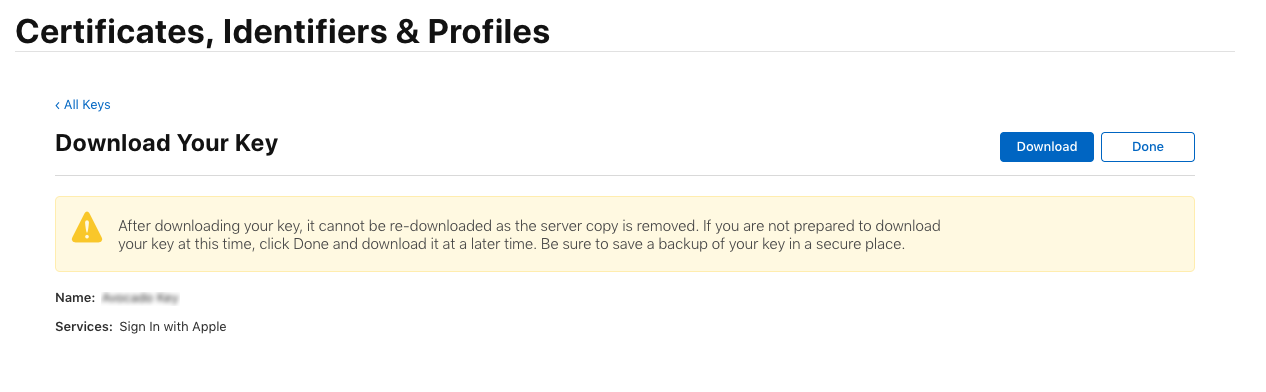
Apple will generate a new private key and allow you to download it only once. Make sure you save the file securely, as you will not be able to download it again later.
The downloaded file will have a .p8 extension and contains text. You can rename it to key.txt to make it easier to use in the following steps.
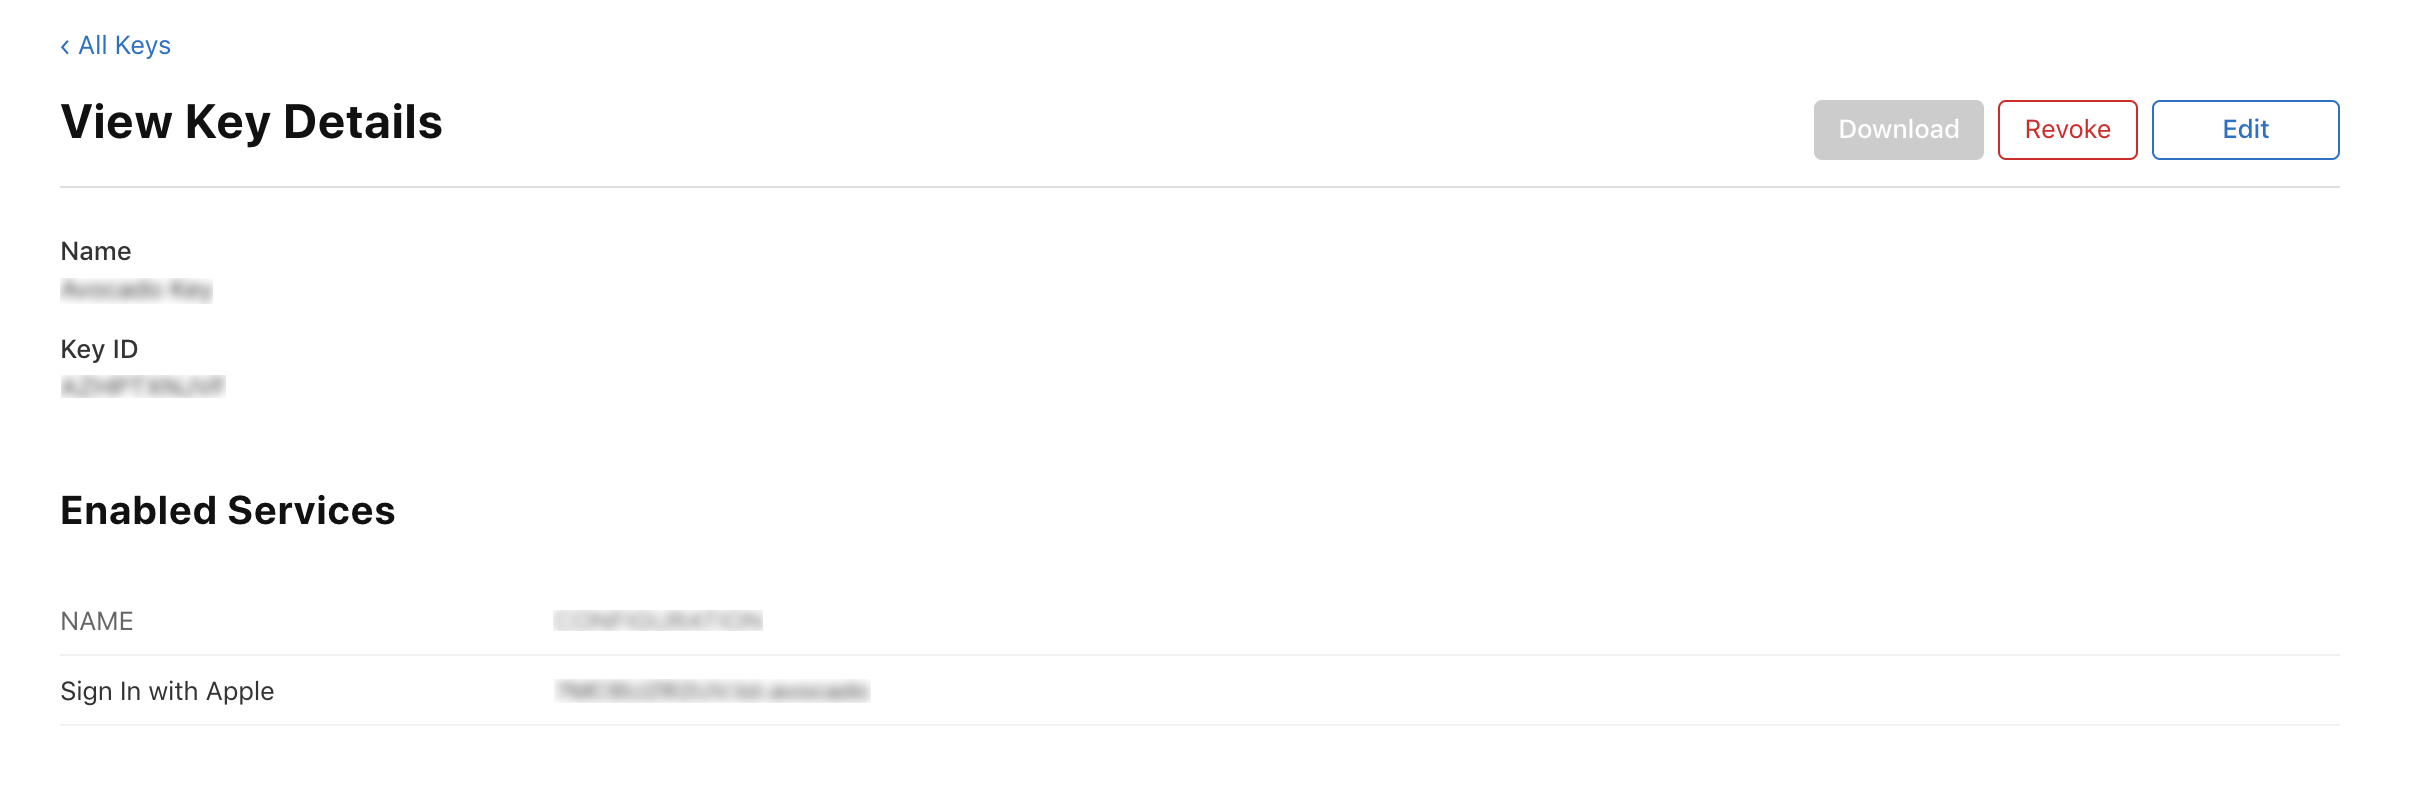
Go back to the key details and copy the Key ID, which you will need in the next step.
Configure the Services ID Identifier (Apple Client ID) in the plugin settings, as shown in the screenshot below.
