“Social Network Integrations” Documentation by “WPWeb”
To get a APPLE Application detail, go and visit: https://developer.apple.com/.
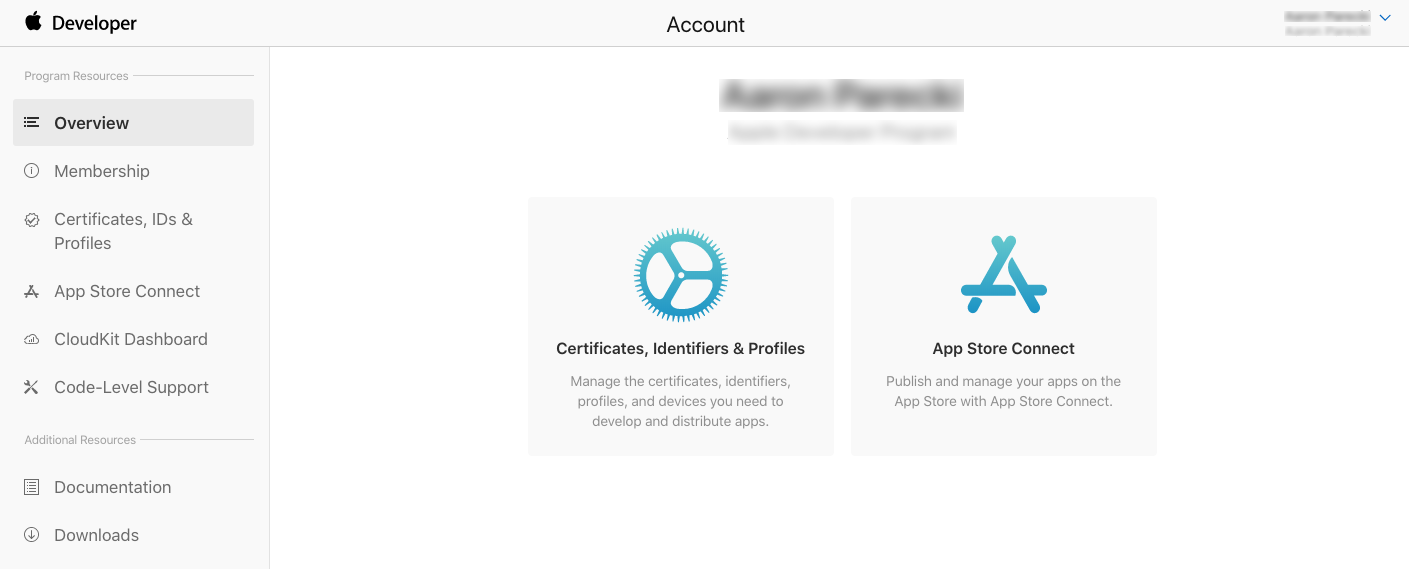
You need to be logged in to your APPLE account to be able to get APPLE application id. So first, login to your APPLE account and then follow the link above to get to their developer page. This should look similar to the one shown in the image below.
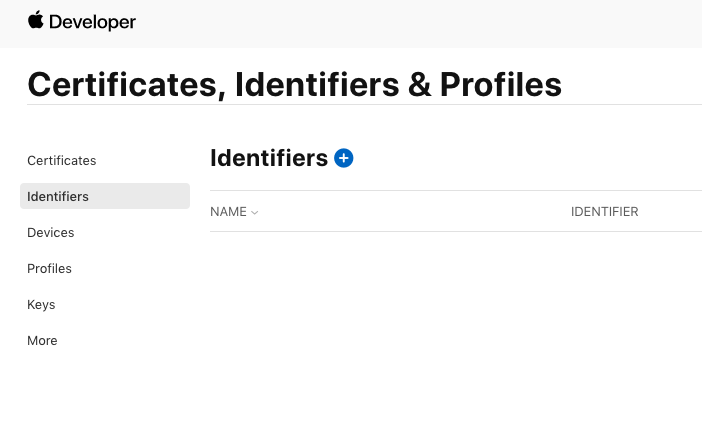
From the sidebar, choose Identifiers then click the blue plus icon.
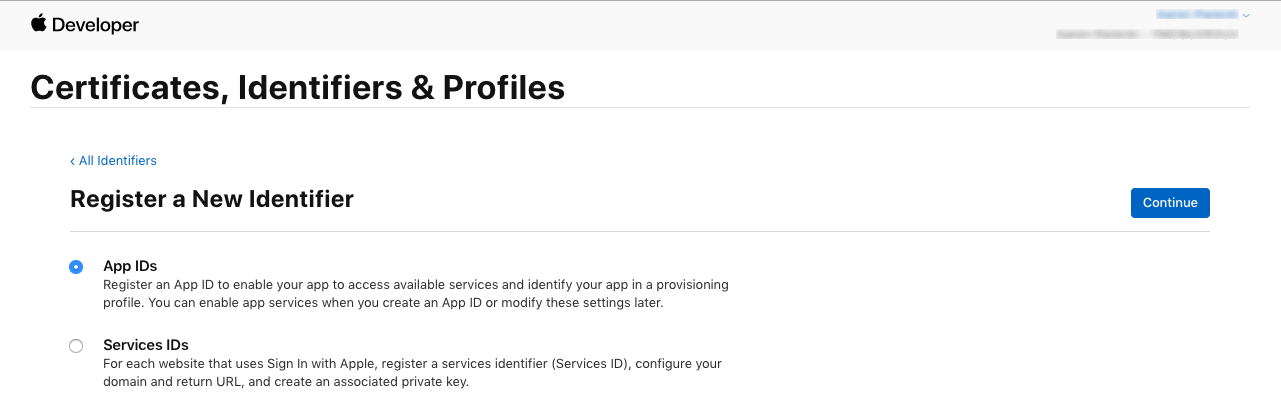
Choose App IDs in this first step.
In the next screen, you’ll choose a description and Bundle ID for the App ID. The description isn’t too important, but type something descriptive. The Bundle ID is best when it’s a reverse-dns style string.
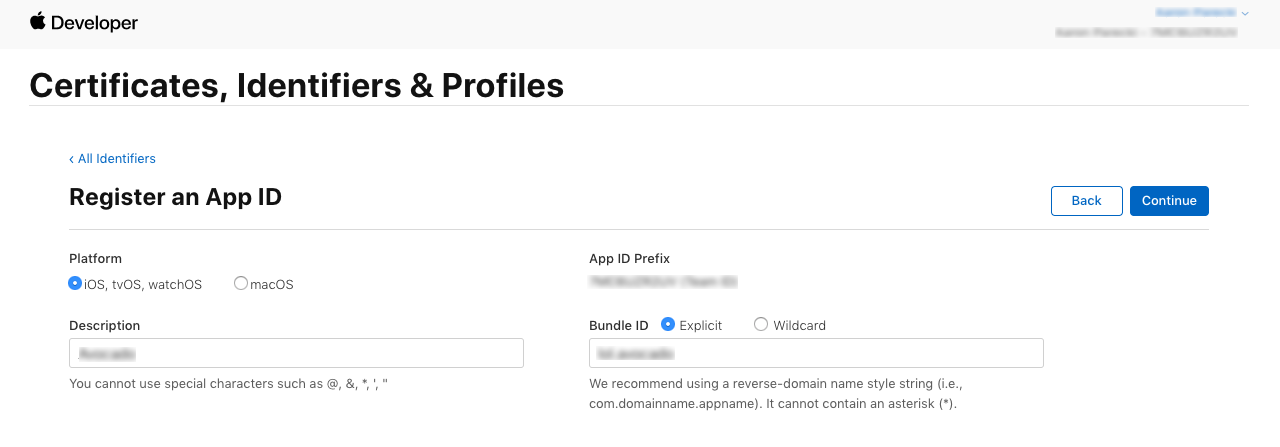
In this example, I’m using lol.avocado since the domain this app will be running on is avocado.lol.
You’ll also want to scroll down through the list of capabilities and check the box next to Sign In with Apple.

Go ahead and confirm this step.
Create a Services ID
The App ID in the previous step is a sort of way to collect things about this app. It seems redundant when you’re only making a simple web app login experience like this example, but it makes more sense once you have a native app and web app that you want to tie together under a single login experience.
The Services ID will identify the particular instance of your app, and is used as the OAuth client_id.
Go ahead and create a new identifier and choose Services IDs.
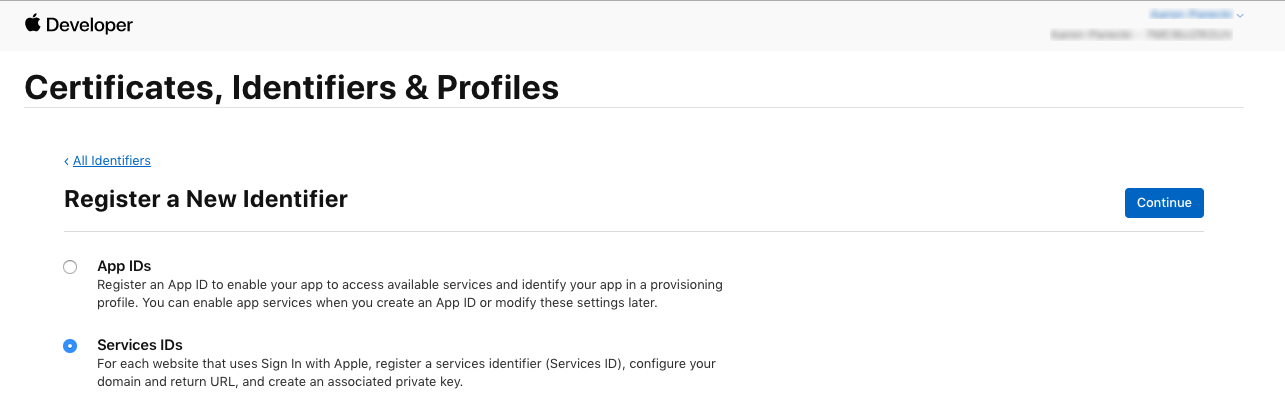
In the next step, you’ll define the name of the app that the user will see during the login flow, as well as define the identifier which becomes the OAuth client_id. Make sure to also check the Sign In with Apple checkbox.
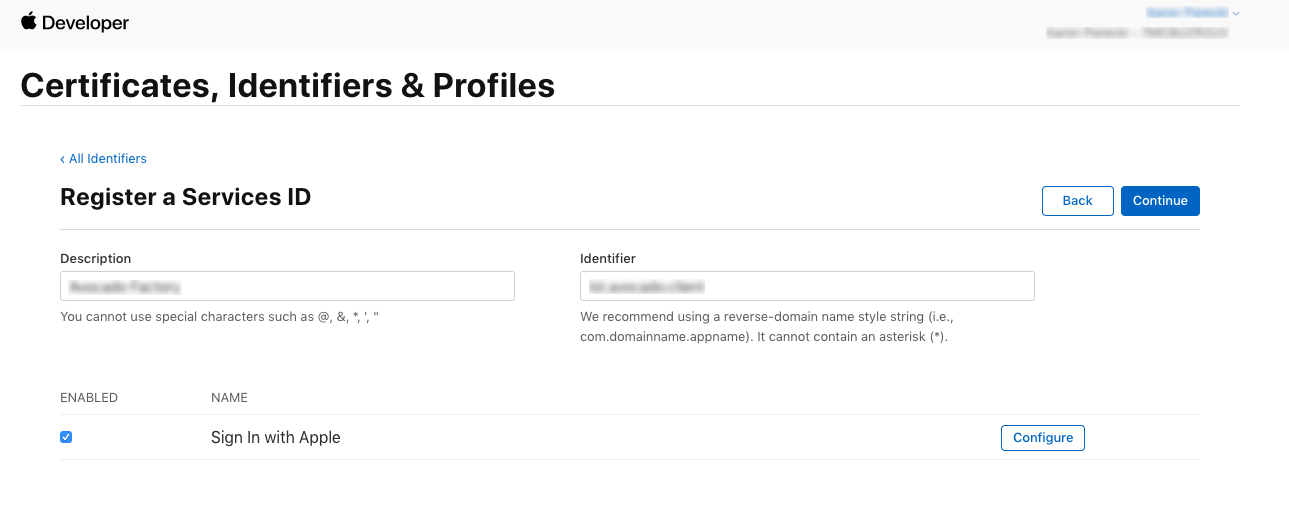
You’ll also need to click the Configure button next to Sign In with Apple in this step. This is where you’ll define the domain your app is running on, as well as define the redirect URLs used during the OAuth flow.
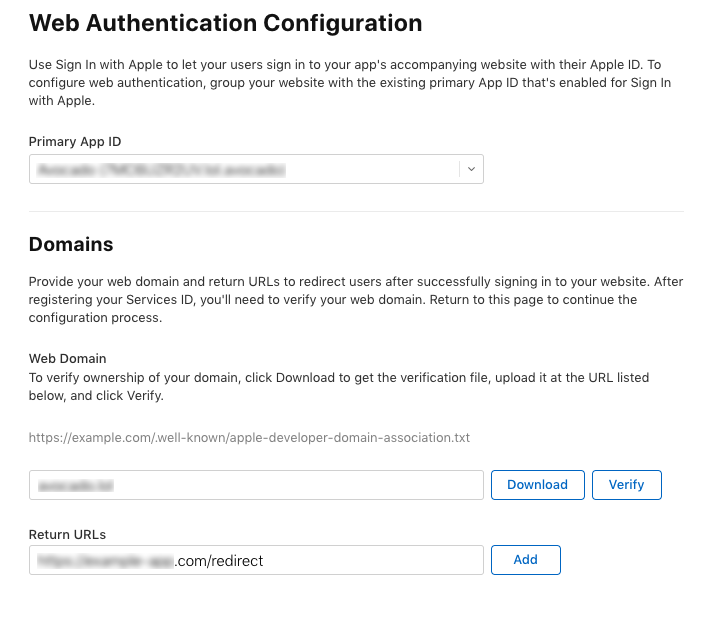
Make sure your associated App ID is chosen as the Primary App ID. (If this is the first App ID you’ve made that uses Sign In with Apple, then it will probably already be selected.)
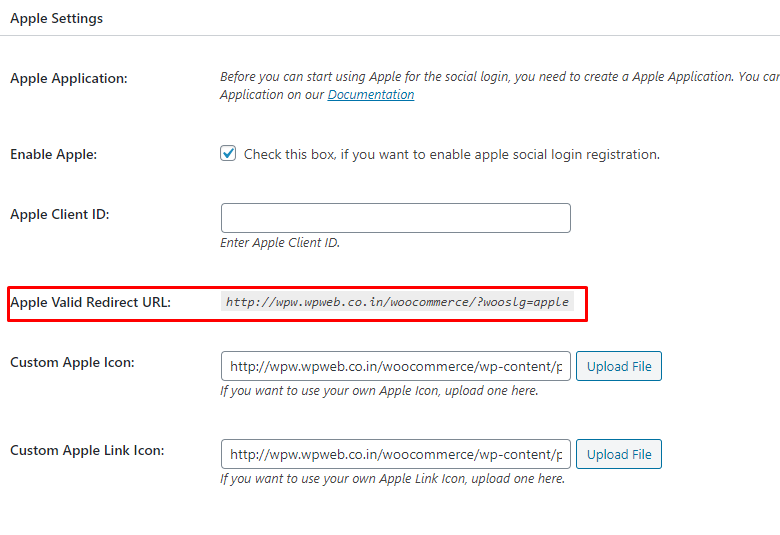
Enter the domain name your app will eventually be running at, and enter the redirect URL for your app as well. If you want to follow along with this blog post, then you can have to enter redirect URL. Redirect URL you can get from the plugin settings page. Have look at the screenshot.
It’s worth noting that Apple doesn’t allow localhost URLs in this step, and if you enter an IP address like 127.0.0.1 it will fail later in the flow. You have to use a real domain here.
Go ahead and click Save and then Continue and Register until this step is all confirmed.
Ok! At this point, you now have an App ID container to hold everything, and you’ve created a Services ID which you’ll use as your OAuth client_id. The Identifier you entered for your Services ID is your OAuth client_id. In my example, that is lol.avocado.client.
Create a Private Key for Client Authentication
Rather than using simple strings as OAuth client secrets, Apple has decided to use a public/private key pair, where the client secret is actually a signed JWT. This next step involves registering a new private key with Apple.
Back in the main Certificates, Identifiers & Profiles screen, choose Keys from the side navigation.
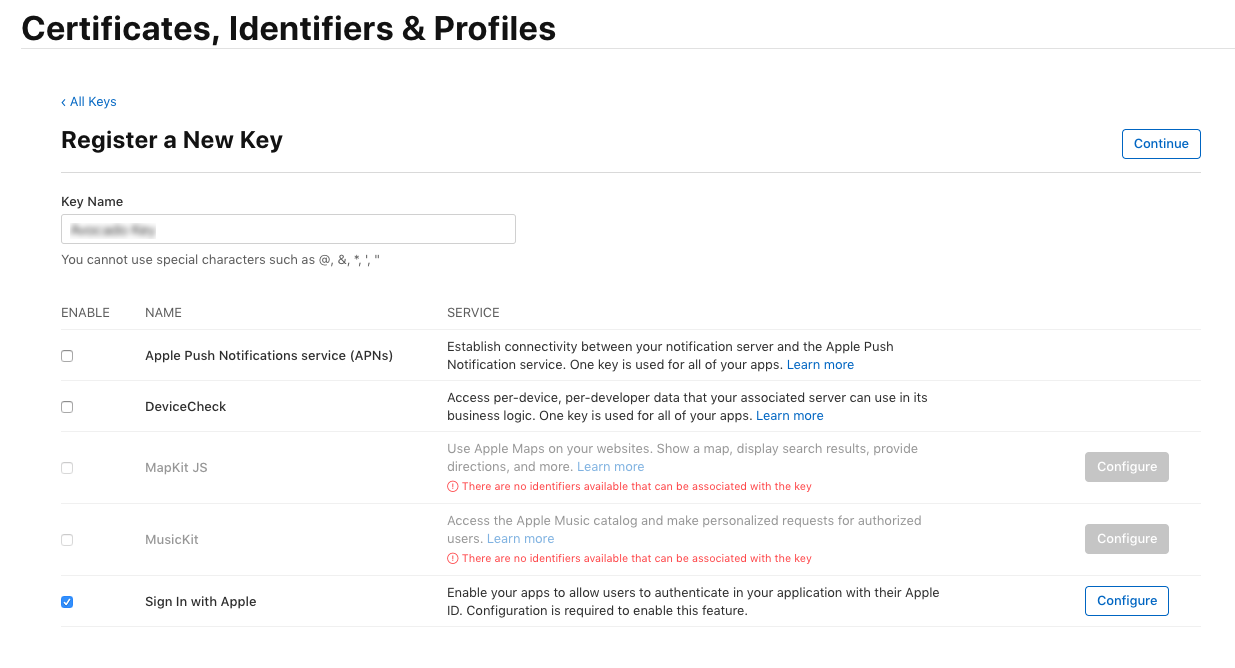
Click the blue plus icon to register a new key. Give your key a name, and check the Sign In with Applecheckbox.
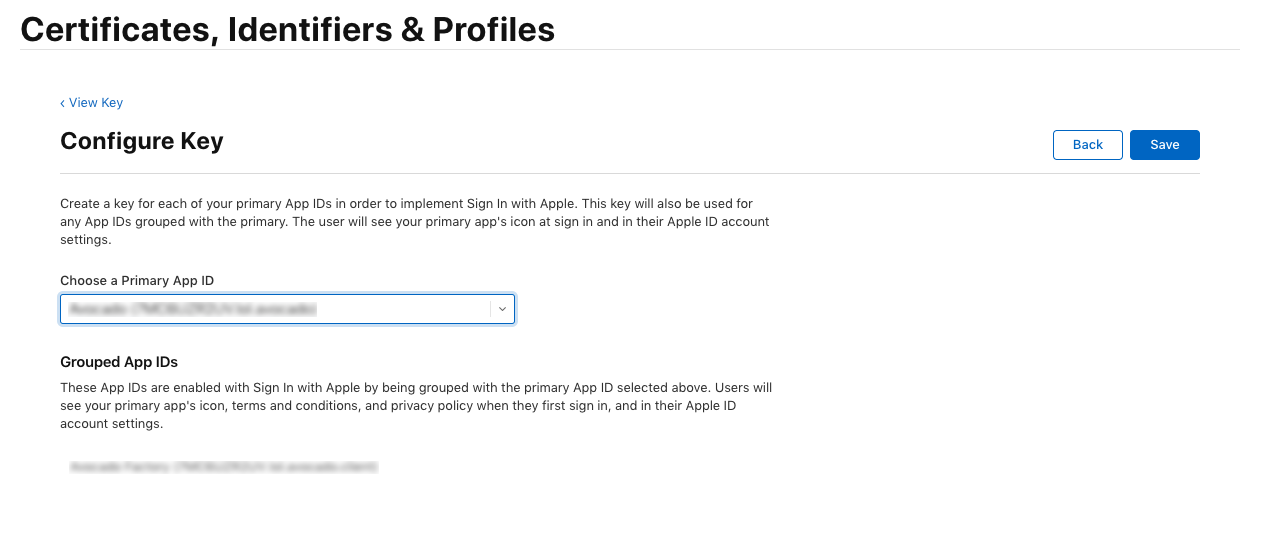
Click the Configure button and select your primary App ID you created earlier.
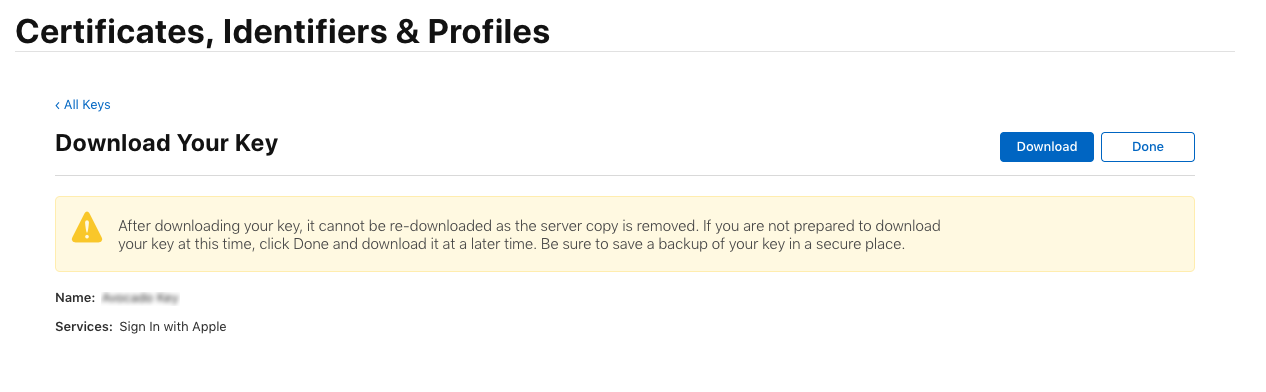
Apple will generate a new private key for you and let you download it only once. Make sure you save this file, because you won’t be able to get it back again later! The file you download will end in .p8, but it’s just text inside, so rename it to key.txt so that it’s easier to use in the next steps.
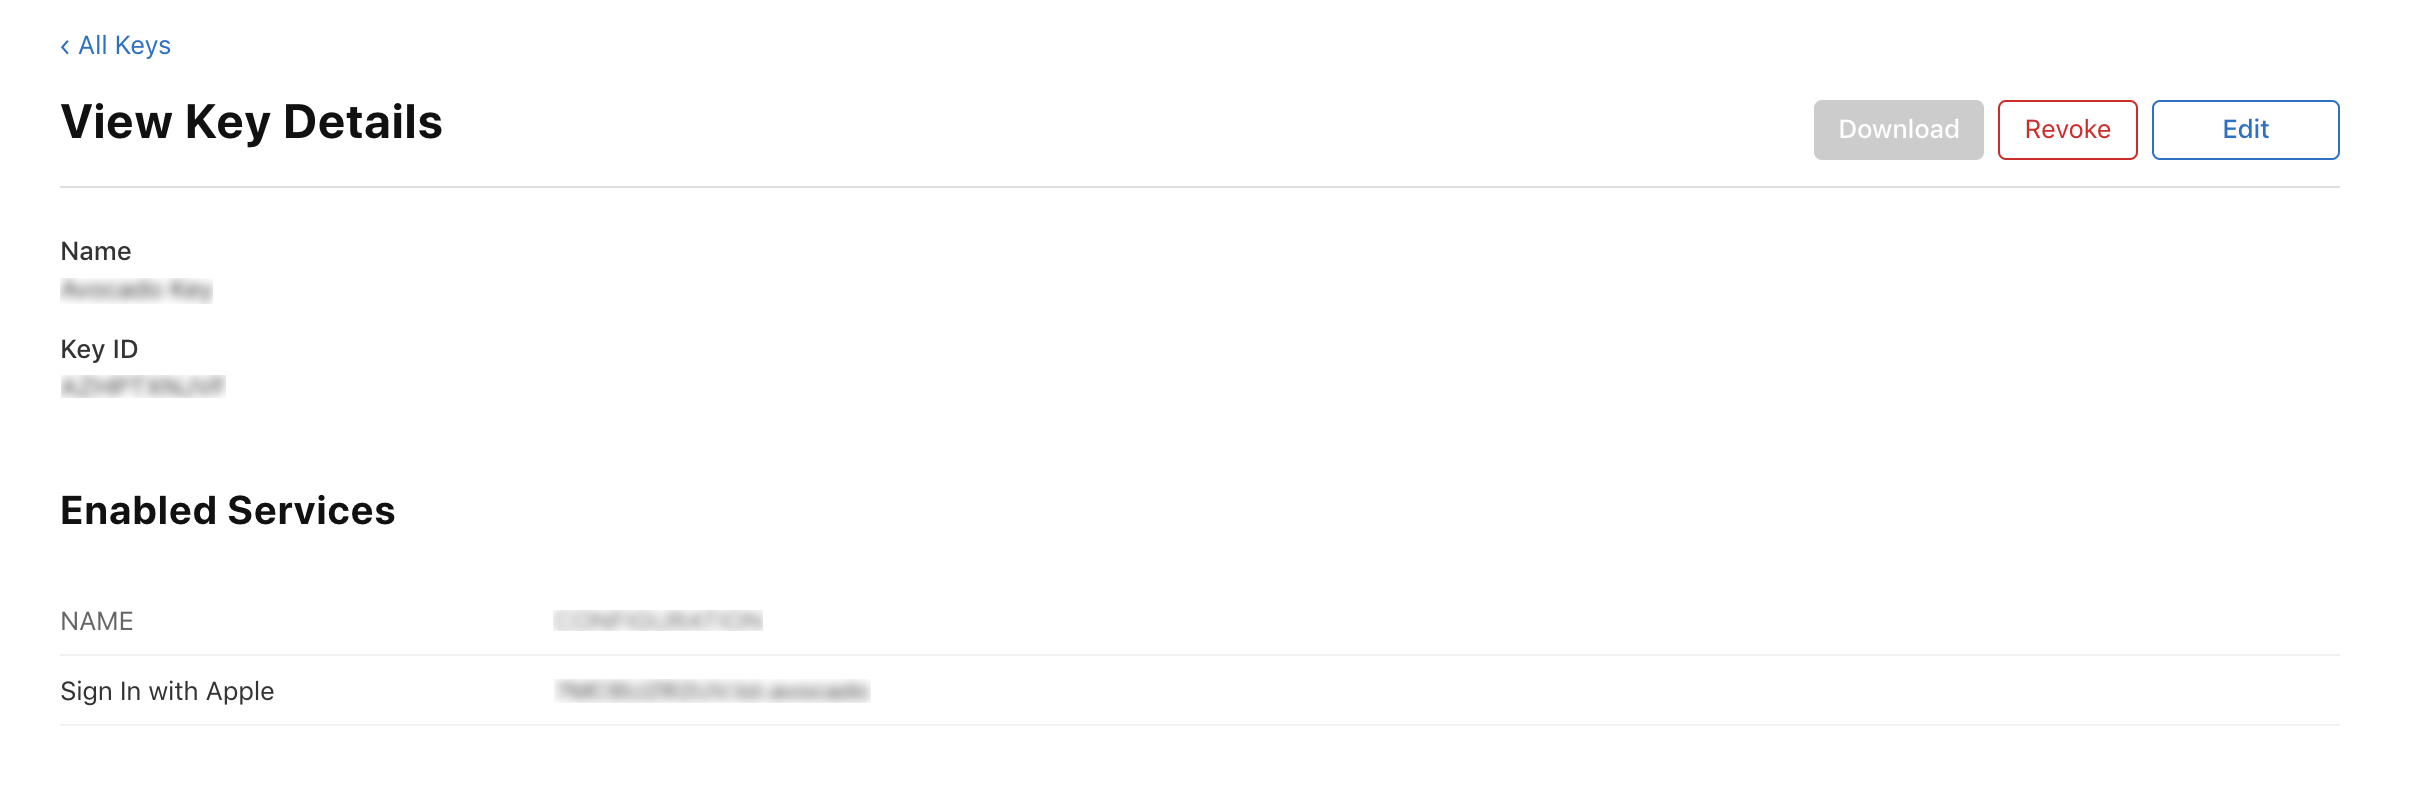
Lastly, go back and view the key information to find your Key ID which you’ll need in the next step.
Now, configure service IDs identifier (Apple Client ID) within the plugin settings. See the screenshot below:
